Tuesday, September 2, 2014

Pattern Release: The Howard Hoodie!

It's official, I've released my first pattern! I did a sneak peek a couple of weeks ago, sent it off to a couple of test knitters (thanks so much for offering ladies!!), tweaked some of the language, and here it is - the Howard Hoodie!


Here's the "official" blurb about the pattern:

The Howard Hoodie is a hat and scarf all put together into one cute little package. The attached cowl keeps little necks warm, and lays nicely under a coat without adding extra bulk, and can't be easily lost like a separate neckwarmer! The hood is fastened with a button closure, so there are no ties or strings to get tangled. A rolled brim frames cute little faces, and the hat comes to an adorable elfin point.

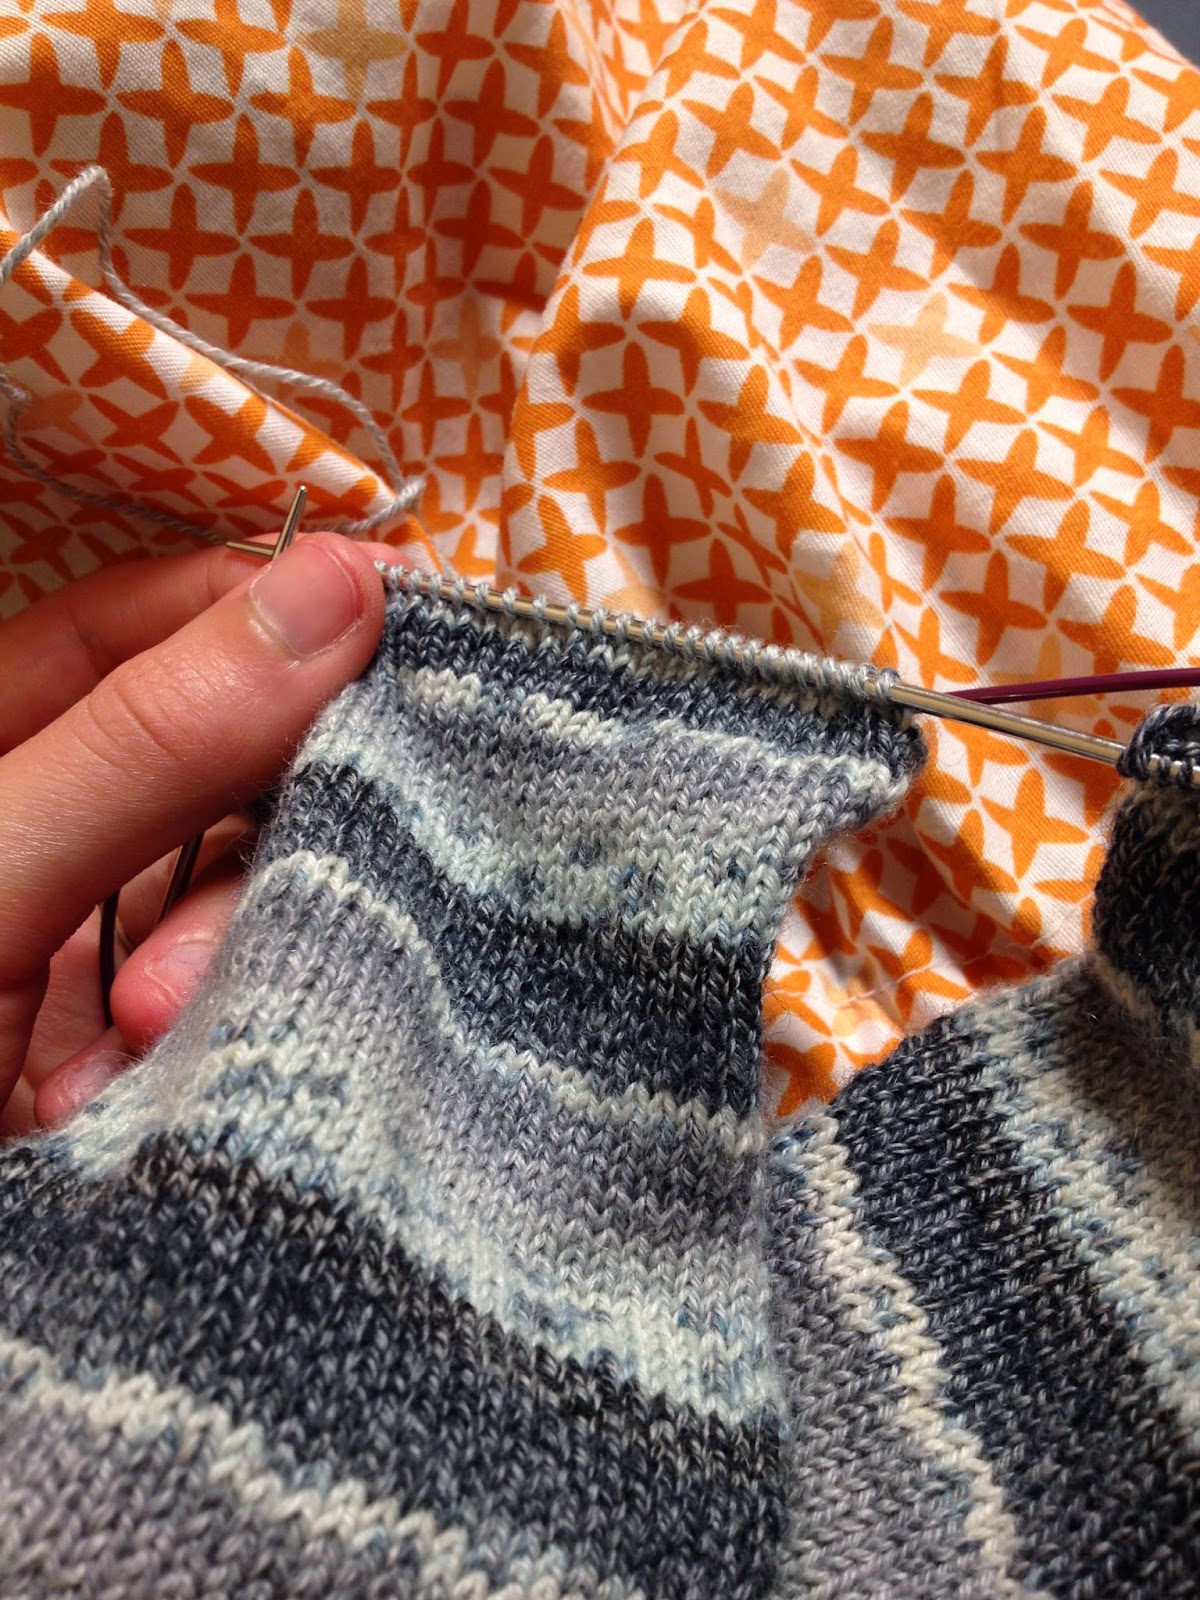
Pattern is written for sizes 6 months, 1 year, 2-3 years, 4-5 years. Smaller sizes can be knit up in just one skein of worsted weight yarn (about 200 yards), while the 4-5 year old size will either need an additional skein or the addition of a contrasting color. Hat is worked flat and seamed with a 3-needle bind off, and the bottom scarf/cowl is picked up and knit down. Uses US size 8 circular needles (length not critical as hat is not done in the round, 16" is comfortable minimum) with additional US size 8 straight or double point for 3-needle bind off.
 I know it's terrible to think about...but it's officially September now. For those of us in the north, that's back to school time, and the official - unofficial start of fall. And for those of us in the far north, it means (snow) (....that's a whisper, not a suggestion nature!!) could theoretically fall pretty much any second now. Luckily this is a pretty fast knit. It could realistically be done in a week or so, even a weekend if one were so inclined. And IF one WERE so inclined, well, one could find this pattern in my Etsy or Ravelry shops (those with eagle eyes may have noticed that it actually went live yesterday)! Just click on one of those links, and you'll be taken to a page where you can purchase the digital download. I'd love to hear from any of you who decide to knit this what you think of it!


Thursday, August 28, 2014

Project page

...or a database if you're feeling extra fancy!


This is a site update that very likely only matters to me, but that's ok. I was listening to an episode of one of my very favorite podcasts last week (Elise Gets Crafty), and she did a whole chat about FOCUS. One of her tips about how to focus if you feel like you have just too many ideas swirling around in your head to focus on any of them is to simply write them down. There's more to the exercise, but basically by giving them a place to live outside your brain, you can clear out some space to think without feeling like you're going to lose all those thoughts by not focusing on them and running through them over and over again.

I'm definitely a proponent of the "write it down" school of thought - I do it at work in a physical notebook (somehow digital task lists don't work for me there), making lists for all the to-do's of the different projects I'm on. My google calendar is my lifeblood - if I haven't written it there (and set alerts for myself!) I'm unlikely to remember that it's happening. I use Goodreads to remember what books I've read....and if I liked them (yep, it's come to that!). I use a physical notebook to organize my personal business ideas, posting schedule, pattern notes, etc.


I love Ravelry for its project page, but it's specific to yarn craft, and, as I mentioned in a comment on my last post, I'm multi-craftual! I've been doing a lot of sewing lately, and sometimes, man, it's just hard to remember where you've been. It's also sometimes hard to remember you're already working on 4 projects when you excitedly start a new one....Plus I've got an inkling that the busy season for my shop is going to creep up on me pretty soon, so I wanted to get organized.

I've divided it up into 3 sections - things I'm working on, things I've finished (and when!), and a very sneaky 3rd category that seems to plague many crafters, things that are thisclose to being done, but still need finishing. For me, I need to sew on the buttons and do an inside ribbon detail on the Nova sweater dress. The poor thing is fully knitted, seamed, and I've even woven in the ends. Then I had to buy the ribbon and it landed in a pile in the closet. So close!


To keep myself on task, I've listed my "in progress" projects in the order in which I'd like to finish them. Sometimes - in the case of gifts or Etsy orders - there are even due dates! Because I plan for this to just be an always updating list, I didn't include photos, but I did link to the projects when I've done posts on them. (I have another page coming next week that WILL have pictures, and I'm pretty excited about it.) I just went back a couple of months for my "finished" objects, but I'm excited to be more on top of it in the future. Nothing is more motivating, for me anyway, than seeing everything I've done all gathered up into a master list!

Tuesday, August 26, 2014

Quilter?

I'm in need of some new twin bedding in the next couple of months, and I haven't been able to decide what to do. I don't really know what colors I want to do, I don't have a clear vision, but I am running out of time. I have been going back and forth on how I feel about quilts for years. My tastes run decidedly modern, so I suppose it makes sense that much of quilting doesn't really appeal to me. I actually made a quilt in 2011 for our bed, which I seem to have exactly zero pictures of. It's really nothing that spectacular, just 4-8" long strips the length of the bed with straight line quilting.

My very talented cousins made this one for me based on a similar one I'd pinned on Pinterest a few years ago, and it's pretty reflective of my taste - simple and graphic:


Lately I've been feeling a BIT more traditional, but still not "flying geese" traditional. I read several blogs that just make quilting, or rather, living with quilts, seem like something I want.

Alicia from Posie Gets Cozy is probably the largest influencer of my newfound appreciation for a bit more softness and eclecticism. Our styles are almost totally opposite, but she's created such a lovely aesthetic that I'm about ready to ditch my whole house for hers.The entire blog, it's just such eye candy to me.


 I love the casual rumpled throw and cupboard of full of quilts of Amy Badskirt.


Ashley of Film in the Fridge is a really prolific quilter with fairly modern taste which appeals to me.


So when I got my Interweave "Free for All" what did you miss this month email this weekend, well, I was in an impressionable place. I saw these cute little hexagons and thought....that might be just about right.


I followed the links and got the 5" hexagon template from Patchwork Posse on Craftsy (it's free!). I went with the 5" over the seemingly more common 2" because, well, bigger hex's will go faster!


However, I then counterbalanced that bit of sensibility with the decision to piece the quilt top....by hand. Darn you Posie Gets Cozy!! She just makes everything seem so appealing!


Truly though, there are a couple of reasons I decided to do this by hand rather than by machine. As I've mentioned ad nauseum, my sewing room is still under construction. This means that my current sewing room is pretty much filled to the max, and I've lost the urge to keep it fully organized (other than my thread!) knowing that a new room is on the horizon. I also felt like I'd have a little more control over how the "Y" corners meet up. I've been putting an extra couple of stitches at those points to hopefully ensure that they don't open up over time, and it's something I'm not sure I'd do well with the speed of the machine as well as my inexperience at piecing quilts. Finally, since this is something that I think would take a good time investment no matter how I do it, I like the mobility around the house that I have doing it by hand rather than by machine. I can knock out a dress or something in an evening or two - this will definitely take longer. Even though I know it will take LONGER by hand, I like that I can bring it into other rooms or outside for now. And if it gets too fiddly, there's nothing to say I can't do a mix of hand and machine piecing!


My tentative plan is to do white centers and colored "petals." I don't have a specific color scheme throughout, but I have a pile of fabrics I like. I think I'll just make the flowers and then put them together at some point to see how it's shaping up. If it's too much, I can always throw in some solids or neutrals to tone it down.


So. Yeah. It's an experiment.

Thursday, August 21, 2014

Simple sewing room organization

I think I got my sewing machine almost 15 years ago. It came with a little sampler pack of thread that was probably intended for little hand sewing jobs, and from there I've purchased and lost a ton of separate spools of thread. The spools I managed to hold on to, along with their corresponding bobbins, were neatly stored in an equally organized dresser drawer in this box.


It was obviously super effective, and spoiler alert, I'm all done doing it that way. If you are jealous and want to implement this method, I will totally send you this bottom half of a box of checks, just as soon as I find homes for these things which definitely needed to be stored with thread.


So now my thread storage (purchased at Joann's during their storage sale) looks like this:


When I get into the new space, I'll hang it on the wall, preferably near the sewing machine. The location actually isn't critical as it's not like my work space will be enormous. I don't find I do a ton of color changing mid project. In fact, it might end up making more sense near my fabric. Anyway, it's awesome that my sampler threads are no longer tangled with my bobbins, and I won't fill bobbins with the same color thread I already have (I'm looking at you, whites and tans), and I'll actually be able to see what I'm out of and what I need more of. This was honestly such a relief!

Hi there starter threads. We've come a long way.


Wednesday, August 20, 2014

I'm 2/3 "real" knitter

I've joked before that I'm not a REAL capital "K" Knitter (despite knitting for 5 years and crocheting for over a decade) because I've never made myself a pair of socks (the kind with tiny yarn on tiny needles that can actually be worn in real shoes) or a sweater. In fact, I said so here at the end of May. Here we are now at the end of August, and I'm almost there on both counts!


I've got socks with heels turned, and a sweater with sleeves finished (FINALLY!) and over half the back in progress! My socks live in that orange bag (which is actually the packaging that a set of sheets come in from Target - fancy and thrifty!) in my purse, so I only pick away at them here and there. Mainly I knit on them during my lunch break, as a passenger in the car, and even in a few meetings when I just want to keep my hands busy. I worry that it makes it look like I'm not paying attention, so I make a conscious effort to keep my eyes up on the presenter or screen. I'd wager that I'm far more engaged while knitting than if I was checking email on my phone! 

That being said though, it feels like they've been taking a long time since I never work on them for more than an hour. Even so, I've turned both heels with a TON of mistakes (seriously, I ripped one almost completely out), but I was glad to be past that, mistakes and all, because now I'm on to the cuff and I don't have to think about that at all. Just keep knitting, keep your mind busy. I think working two at a time may have contributed to my heel mistakes, but that could just as easily be due to lack of experience at that particular technique, as well as always only paying half my attention to what I was doing. I've tried them on (oh the beauty of toe up and circular needles!) and decided it didn't bother me enough to make them perfect. In fact, the lesson learned may be that I need to start the entire heel increases a few rows sooner. Live and learn!

I think a potential lesson learned on the sweater side might be sleeves first. That may definitely be true in a sweater like this where the sleeves are done in a texture pattern while the body is a straightforward stockinette. I cast this on back on June 30, and didn't finish the sleeves until last Friday night, August 15! That's a long time! It didn't help that I made a ton of mistakes, and ripped a LOT. (There have been many rows and half rows taken back one stitch at a time - far less dramatic than a big ol RIP, but painful nonetheless.) The pattern definitely wasn't hard, but it needed to be focused on, at least a little. 

In contrast, all the knitting on the body so far was done in little scraps of time on Saturday and Sunday - it is positively FLYING in comparison to the sleeves. I think if I'd knit the body first, the long slog of the sleeves would have been tough to bear. I'm glad I did the sleeves at the same time too. If the first one had taken a month, it would have felt like a pretty big job to start the second one. I guess I just like doing pairs of things together! When you're done with one, you're done with both, and I like that. 

I considered doing the body all together in the round, but didn't think through needing a longer circular needle, and just wanted to get going already. Still, I might do the fronts at the same time, similar to how I did the sleeves. Yep, I'm a little worried about confusing my left and right side, but we'll see how it goes. And the bummer is that in the end, I'll still have to get that longer needle - I've left the bottom edge as a provisional cast on so that I can assemble and finish the whole sweater, and just do the ribbing on the bottom until I run out of yarn to make the cardigan as long as possible. Bah! I wish I'd remembered that before casting the back on to work in pieces. Ironically, the reason I started the back in the first place is because I realized I needed different needles for the sleeves of my Wonderful Wallaby. Oh knitting. You can certainly be an expensive hobby. Lucky I love ya!