Showing posts with label review. Show all posts

Thursday, August 18, 2016

My first taste of Greens


Last night I had a drink / get to know you / business meeting with my enroller / upline / boss (I clearly don't know the lingo!) Erin, and she gave me a couple product samples to try. One of these were a couple of Greens on the Go, one of the most popular products offered by It Works. (There was a facial wrap in there too, which I totally would have tried when I got home had it not been so late and I so tired!)

This morning I had a couple of spare minutes while we were getting out the door, so I decided to start my day with a sample! While it's fresh in my mind, here are my thoughts in the order in which they occurred.

Open packet. Think, huh, this smells like Crystal Light. I like Crystal Light. This is a good sign.

Dump it into my water bottle and shake.


Think, oh my god, that looks disgusting. What have I gotten myself into! How will I ask people to buy this and say it's great if I can't choke it down?! I don't have a poker face, this is a disaster! However...it still smells good, so......

Big drink. Hey! It's yummy! It's not as sweet as Crystal Light, but there is a pleasant berry taste. I gave it a decent shake but not terribly thorough. I can taste just a few undissolved crystals, but one more swirl in the bottle takes care of it. Plus there are bottles with agitators in them for more thorough mixing if that's an issue for you.

Turn to husband. Say, try this. He side eyes it, but gamely takes a swig. Same reaction - Hey, this is GOOD! What is it! I told him it's that Greens stuff I've been telling you about. It has all kinds of veggies and good stuff in it, plus green tea. I'm going to order some next month - would you drink it if it's in the house? He says sure, he would. So that's cool!

Finally, one of the little ones grabs it and takes a drink, not looking at it. She expected it to be water, as that's usually what's in my water bottle, and she said, "Hey! This water tastes like LEMONADE!!"

So there you have it - a totally unvarnished review, straight from the mouths of babes.


Want to try them for yourself? Leave a comment or send me an email! cozycapecottage@gmail.com. I'd love to hear what you think!
 

Thursday, March 26, 2015

When you don't love it


In my last post I mentioned cutting out some fabric for a dress I planned to make. I also mentioned that I've been avoiding this particular project because I wasn't sure I was going to like the pattern. Obviously, I like the look of the end product because I had decided to make it, and purchased all the trim and lace for it....but I have made another dress out of this book and I did NOT enjoy the process. The directions were ok, but I had to do a lot of adjustment on the fit. I brought the shoulders of that particular dress in, did sort of an improvised dart so they didn't gape in the back, and left an entire tier of ruffles off the dress, as it was plenty long enough for its above average height recipient.

The only reason I didn't entirely scrap my plans to make another dress by this designer is because dress number two is much less fitted, and I decided that oversized would be fine for now and it could be worn as a tunic over leggings in the future. Something grabbed me this weekend, and I decided to make the second dress.


I like the dress. But I was right. I did NOT love the pattern.

Many parts of it felt incredibly fiddly, and sometimes I would go ahead with the directions as written, hoping that it would work out but knowing that I was going to be ripping a seam and doing it again. You can see from the back image that there are ties at the waistband. I know for sure that there were directions on how to make those ties, but I am less certain that there was ever a direction to actually attach them to the dress! Luckily this is not my first dress with ties like this, so I was sure to attach them before I sewed the final side seams. I imagine I would have been quite frustrated if I hadn't noticed that, finished the dress....and ended up with spare parts!

The directions for the button band on the back were rather mystifying as well. This is one feature I haven't done much in the past, so I was really relying on the pattern instructions. The band is cut out as a single strip. All of the times I read through the directions, I really felt like it should have been two separate pieces, but I didn't want to slice it in half only to find out I was wrong. I checked and double checked the pattern piece to make SURE there wasn't another cut line, and there wasn't. I went ahead and installed it as best I could....got down to the bottom of the band, had no idea how I was to navigate the transition between left and right side, and out of the lateness of the hour and just wanting to be done, I folded and mashed it as best I could to look decent and called it a day.


It looks fine for a toddler/kid dress I suppose, but I know it's not the proper way to do it and it bugs me. Not enough to rip out, but enough to want to research it for next time. On the other hand, how pretty are my buttonholes! Score one point for practicing it five times before doing it on the garment!


So here is my dilemma. I've now made two patterns from this book, and I disliked them both. I was surprised at many of my issues because, well, they came from a BOOK. In my mind, you should be able to trust what you get out of a book from a real live publishing house. There should have been multiple sets of eyes on it, patterns should be tested, fits should be reasonably accurate. This wasn't a freebie pattern (though, disclosure, I got this from my library so I didn't technically pay for it), so I just expected more. The dilemma is....to name names, or just make a mental note to myself and move on?

I have no problem posting names and links and such when I have a good experience, but I somehow feel bad pointing a finger when I had a less than good experience. I know I don't have a large following, but I guess I feel like I should prevent others from having the same problems. On the other hand, I'm not the world's most experienced sewist, and I don't always read directions carefully, and I'd hate to paint someone else in a bad light if it was really just errors on my part.

What are your thoughts?

Thursday, November 13, 2014

Renting a Rug Doctor

My very first job was at the local Pick N Save grocery store. I was a cashier and service desk clerk, and I worked there for....3 years I think? Over that time, one of my responsibilities was to help people rent that little red carpet scrubber machine....and now (a bunch of) years later, I'm the one making the rental.


Honestly I'd never given it much thought. I don't remember my parents ever using one of these in the house I grew up in, and later on they built a house and had a crew come in and scrub everything from time to time. I DO know that on the day I rented the Rug Doctor, I was in a really foul mood. You see, I'd finally picked out a rug for the "den" area of my remodeled studio. ((link to rug) When it arrived, I wasn't certain it was the ONE, but I spread it out thinking I'd either get used to it or I'd return it.

However.....disaster soon struck.


All of those white spots are the result of an unhappy cat - not sure if it was unhappy bowels, attitude or both. This discovery made ME so unhappy I couldn't deal with it, so my husband did, and he was rather aggressive on the Resolve and not so much on the rinsing, so those white spots are not only discolored, but also rather crusty. I went down several times with a bucket of water and a scrub brush, and this was as good as I could get. I thought maybe it was actually bleached, but I decided to give it one more chance with a heavy duty scrubber, and re-evaluate my options after.

I got the medium sized bottle of the Oxy-Steam Carpet Cleaner solution (I opted against the pet formula because the pet portion of the stain was already gone. I also opted against the upgrade version of Oxy-Steam because it was bigger and I didn't need that much, and I was already irritated about having to spend any money on this in the first place.) My total cost was $50, including a $10 deposit. Operation was pretty simple. It was easy to remove the whitish reservoir to put in the diluted solution, and it wasn't heavy at all to pull. It operates by pushing a button to get the water and scrubbers going while you pull it backward. If you don't push the button, it runs as a heavy duty vacuum. One thing I'll say is that if you're doing a rug, you need another person to stand on the edge so the whole thing doesn't get pulled back into the vacuum, which has pretty strong suction. Obviously this isn't an issue with carpeting which is attached to the floor! I also had quite a lot of excess water, even after going over it a few times with just the vacuum function, so I ended up laying it out on the concrete portion of the basement to dry so as not to cause the vinyl flooring to pop up with all that moisture sitting on it. I also draped it over a coffee table to get some air to the underside after a day or two.

The results?


I'd give it a solid "decent." With the comparison of the before and after photos, you can still see the outline of the original stain. Everything feels the same texture now - no more crusty spots - and it's not quite so obvious in person where the problem areas are. Part of the issue honestly is probably the rug itself. It's viscose, and has both sheen and direction to it. It's sort of like microfiber in that you can rub your hand on it one way or the other and see its path. I'm hoping that both with regular vacuuming and a coffee table in the middle (you can see one of its bright footprint on the upper right above, which also demonstrates that this rug shows tracks if you breathe on it), that the rug will be ok in the basement studio. If I had endless money, I'd replace it with something else, but I don't, so I can at least rest in the fact that it's definitely CLEAN, even if it doesn't look perfect. I also wouldn't buy a viscose rug again. This is just NOT a "messy person" friendly material.

To sum up - Rug Doctor = I'd use it again if I had to, but I hope I don't have to! Viscose rug = not thrilled, wouldn't buy again.

Tuesday, July 29, 2014

Golden Rippy's Delilah Top

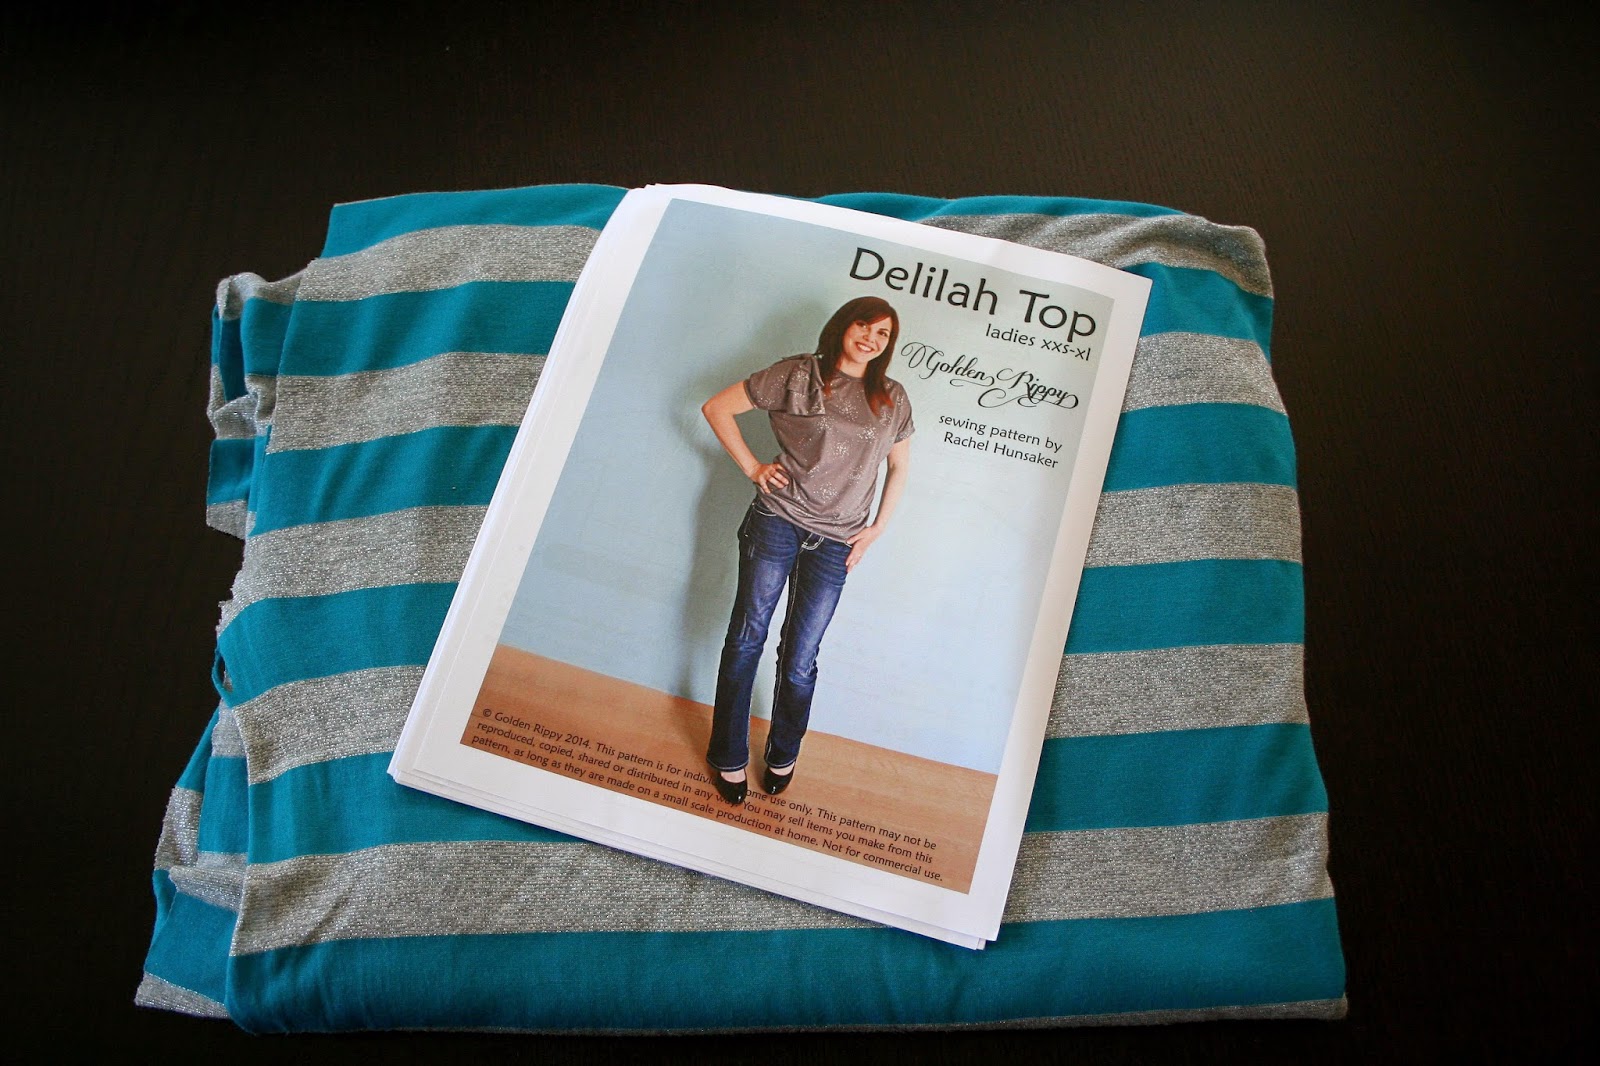
A few weeks ago, the lovely Rachel of  Golden Rippy  put out a call for bloggers to participate in her very first pattern tour (including a giveaway at the bottom of the post!!) in one of our Facebook groups, and I jumped at the chance. I haven't had the opportunity to sew much for myself in recent years, so I thought this would be the perfect excuse. In addition, I've never sewn with knits before, and, well, no time like the present! In hindsight, I also don't have much experience matching up stripes, so choosing a striped knit (from Joann's) MAY not have been the wisest move. It turned out well enough in the end, but I could still use practice.


This is a great casual top, but I've actually worn it to work as well, dressed up with some black pants. I opted not to add on the bow or flowers for my version, but I plan to make the little girl version as well (the Dalia) and will likely add a little something to that one.


I must have been subliminally influenced to choose something with a little sparkle by the cute cover photo!


Rachel's directions were really clear, and it was easy to lay out the pattern sheets with the translucent numbering and arrows on the sheets. I often have trouble finding tops that are long enough, which is why women's top patterns are appealing to me. I decided to make this one per the pattern, and quite like the length! It's great with jeans, but I could also see making one several inches longer to wear with leggings.


I did my best to keep the fabric from sliding around as I cut the pieces in an effort to match up the stripes, which was moderately successful. Not perfect, but pretty good!

As far as sewing on the stretchy fabric, I played around with many of the stitches and tension, length and stitch width on my machine, which is a basic Brother PS-1000. I've heard things about knits being difficult to sew without a serger, so I was a little worried and tested out some of the stretchier stitches. For the most part though, I ended up just using straight stitching and didn't have much trouble with it. I just made sure to adjust my length and tension enough on a scrap piece of fabric so that I didn't get any bunching or loose threads on the back side.


Overall, the sewing went really smoothly, and adding the trim along the neckline and sleeves was really simple with Rachel's instructions. The only bump I ran into was with the waistband. I got the whole top together, tried it on, and it just wasn't quite snug enough.


I had hoped for it to be tight enough to be able to stay up on my hips. (On the plus side, check out those matching side stripes! Not quite as nice on the shoulder, but oh well.) I must have lost my mind when I took it off, because I made it about 6" shorter! It DEFINITELY didn't need to be taken in that much! I did quite a number pulling on the shirt fabric to get it reattached, that when I ultimately realized I'd made a mistake in taking it in too much, I was worried that I'd stretched it out beyond repair. I cut a new strip for the waistband just an inch and a half shorter than the pattern calls for, and that was just right. Luckily the fabric bounced back after a trip through the wash!


I love this top. It's so comfortable! The drape of the fabric and the little gather at the waist give it enough shape and movement without being tight, which is awesome.

So here are the details if you'd like to make a Delilah Top of your own. The pattern includes:
  • illustrated instructions
  • six sizes  XXS to XL
  • 2 sleeve lengths
  • 2 embellishment options
  • printing guide
  • pattern layout guide
  • grainlines
  • 28 page PDF pattern download to make the top
  • fabric yardages for 45″ and 60″ widths
  • pattern pieces with seam allowances
  • professionally designed and graded pattern
Want to win the pattern? 


Prize Package & Rules

Two winners will each win:

            * 2 Patterns of your choice from Golden Rippy


The Contest Rules:

You must be 18 to enter.

You can gain entries by entering the Rafflecopter Prompts.

Giveaway ends: 8/6/14 at midnight PST.
Two winners will be chosen and announced on 8/7/14.


a Rafflecopter giveaway

Also be sure to check out the pattern on these other blogs in the next several days!


Monday- July 28

A Vision To Remember  www.avisiontoremember.com

Fabulous Home Sewn    http://www.fabuloushomesewn.blogspot.ca


Tuesday- July 29

FriendsStitchedTogether     http://friendsstitchedtogether.com/

Cozy Cape Cottage    http://cozycapecottage.blogspot.com/

Gracious Threads    www.graciousthreads.ca

Wednesday- July 30


The Sewing Geek    http://www.thesewinggeek.com/

Sprouting JubeJube    http://sproutingjj.blogspot.ca/

Thursday- July 31

My Taylor Made      www.mytaylormade.blogspot.com

Mimi's Mom      http://www.mimismom.com

Rebel & Malice  rebelandmalice.blogspot.com

Friday- Aug 1

Stitchwerx Designs   http://stitchwerx.net


E-beth Designs   http://ebethdesigns.com/

Saturday- Aug 2


Marmalade Forest   www.marmaladeforest.com

Ali Cat & Co    alicatco.blogspot.com

Sunday- Aug 3


Monday- Aug 4


Tuesday- Aug 5

Mae & K    http://maeandk.com/

The Crazy Tailor   http://thecrazytailor.com

Blogs Like A Mother   http://blogslikeamother.blogspot.com

Wednesday- Aug 6

Bebe Lambs    www.bebelambs.com


Lady and the Gents    www.theladyandthegents.blogspot.com
 

Thanks so much to Rachel for providing me this cute pattern! All opinions, mistakes and rambling are my own.