So. I changed my mind.
We decided to go the safe route, and put in a wood-look laminate (I can't find a link, but I picked it up on a sale at HOBO for about $1.50/square foot). I debated back and forth in the store for quite a while between the wood we chose, which has the same tone as the rest of our house, and something more like a wide, rustic plank, and a couple of white washed options. In the end I decided it made most sense to match the rest of the house. Installation was pretty easy. In fact, the hardest part was just getting all the drywall mud and dust and general construction yuck off the floor! Our floors are not at all level, so we filled in the obvious holes as best we could. I do have some concerns about the adhesive - these were peel and stick, rather than a product with a separate adhesive. We walked all over it many times, and used a roller as well, but I can still feel a few spots that aren't perfectly adhered. I think we will wait and see if anything pops up, and maybe consider a separate adhesive to re-stick some of the looser pieces.
So with the flooring and trim largely done, I got a very large dose of impatience, and apparently some sort of super strength delusions, because I decided that it was perfectly feasible to move these into the room all by myself.
If you know me in life, you know that I'm not what you might call muscular. And if you know these couches in life, you know that the bigger one has a couple of recliners built in, which makes it about a billion pounds.
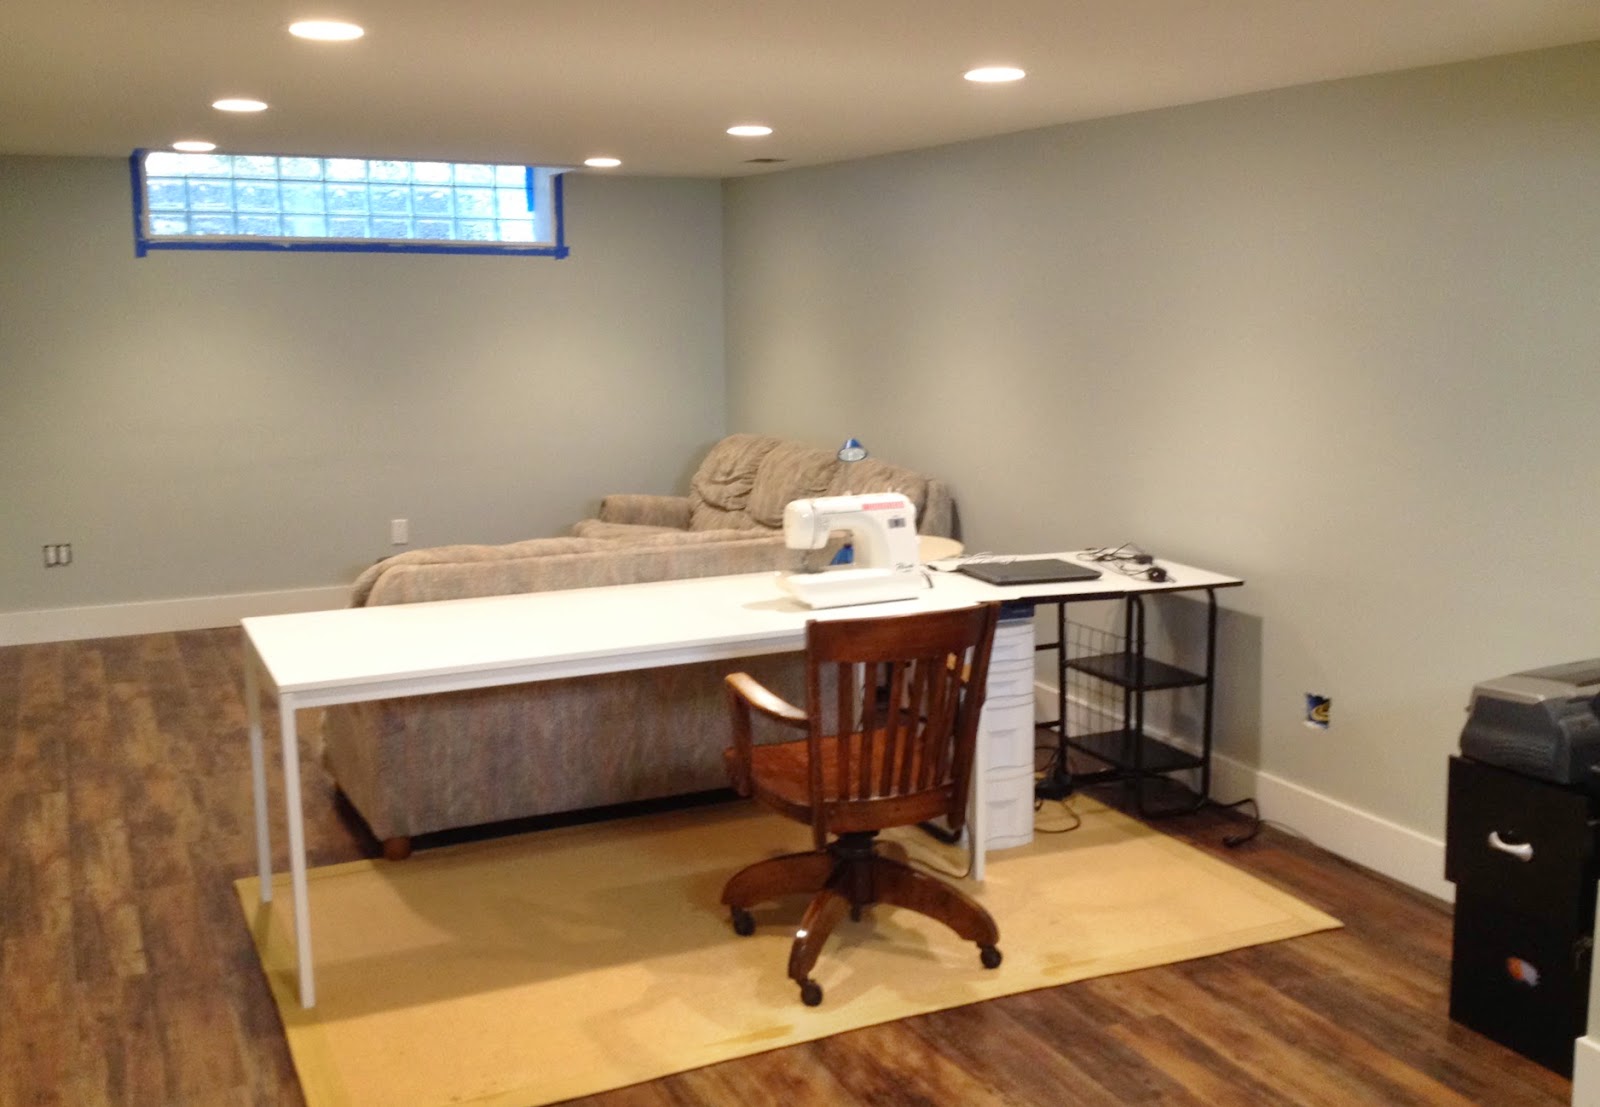
With the couches in place, I could start bringing in some of the other furniture. I placed the rug that was in the current sewing room (which still has some residual oxy-clean spots from a red wine incident which was too aggressively treated and not at all well enough rinsed. I'm working on it.) as well as the filing cabinet, sewing table (the long one) and computer desk.
Yeah, that's not going to work. The current setup is the same, but without the computer desk, and fits just fine on the rug. When I drew up the plans, I was lazy and didn't bother to actually measure anything and just guessed at the dimensions. And apparently I guessed wrong.
Nope. Weird dead corner, and completely non-functional file cabinet.
Hey, ok! Not terrible, this could work! (I don't actually love, or even like the file cabinet, but we do need somewhere to file household things, so it stays somewhere in the works. In fact it's moved again since this was taken, but the work surfaces are still there.)
Oh....just look at all of that space to lay things out, free of computer and associated cables!
And the soon to be (I hope) someday best part....planning for the cutting table!!!
(I'm testing out sharing my posts with a few link parties. I've linked up to Kathe with an E, Pam's Party and Practical Tips and Vintage Paint and More.)


I love the wood laminate! It is gorgeous (and a great option for a basement!)
ReplyDeleteLooks great Kim!
ReplyDeleteFabulous job! It looks so cozy. What a great space for your sewing and whatever else you're up to. Enjoy!
ReplyDeleteThanks, I'm pretty excited about it!
DeleteLooks fantastic. Those floors are beautiful!
ReplyDeleteLooks great! I love the wood laminate and the color of the walls...nice choices!
ReplyDeleteThanks Cristy! I'll have to push to get more done before you all come over next week. :)
DeleteWow! That floor is gorgeous!
ReplyDeleteThanks, I think I'm liking the look!. It's different than what I originally envisioned for sure
DeleteI love the look of this floor and how easy it could be to install! How has the floor held up the past two years? Were the spots that werent glued down as well as you would have liked caused any problems? Did you have a solution to fix that? Thanks so much for any info you can share!
ReplyDeleteHi Lynn! I actually haven't had a single problem with the floor! Like you said, it's been over 2 years and I haven't noticed any tiles popping up, even though this is a basement application and we do get humidity here. We have a dehumidifier in part of the basement, so I just open up the door to my craft room from time to time during the summer to make sure the air circulates. Otherwise I prefer to keep it closed to contain the mess and the Roomba vacuum. :) I would definitely recommend a product like this!
Delete29B2D
ReplyDeleteRESİMLİ MAGNET
شركة تسليك مجاري بالاحساء i9JCpBDMAD
ReplyDelete