Ah spring. Tis the season for spring cleaning, yes? However, since I don't feel like PHYSICALLY tidying anything, I've focused on getting my lists cleaned up. Let's pretend that's a thing. I've updated my goodreads page and my ravelry projects, as well as the
projects page here on my website. Funny, how even though it's just cataloging things I've already done (and even the list of things I just INTEND to do), it makes me feel so much more accomplished.
With that, here's a little status update of what I've got going on currently.
I'm working on some stretchy ribbed tube socks, brightly colored in hopes they will actually be worn. If not....I might be done making kid socks. I'm using the
toddler tube sock recipe by the Knitmore Girls, with the change of working them toe up. I think I'll run through the color sequence one more time so that bubble gum pink lands on top. The yarn is Knitpicks Felici, snapped up the last time it was available.
Not to be outshone by a toddler, I'm also working on socks for me. As I'm starting to amass a bit of a stockpile of sock yarn, I decided that self striping yarns would be a simple stockinette pattern, while solid colors should be knit into a pattern for a little interest. This tweedy sock yarn, also from Knitpicks, may have caused me to stumble a bit though. I'm working the
Uncommon Dragon chart from
Lara Neel's Sock Architecture (affiliate link), again, modified to work toe up. (I think I'll just do a different kind of heel than written. This is one of the few patterns from this book written ONLY for top down, due to the pattern flowing right into the heel. I don't know if I have the brainpower to make that work upside down - working the chart upside down is enough of a head trip, especially since charts are new territory for me!) In the end, the socks will still be wonderful to have, and learning to read charts is great for developing my skills, but the pattern gets a bit lost with the texture of the yarn. I think it stands out a bit more in person, but honestly not that much. Oh well - I'm still enjoying it!


Speaking of being new to charts, well of course I would go ahead and cast on not one, but TWO charted projects! I did eventually cast on the sweater that
I couldn't quite face a few months back. What, you can't tell that's a sweater? If you need a better visual, it's the
Brooklyn Bridge Cardigan by Melissa Wehrle from her fantastic book
Metropolitan Knits. (affiliate link) This one is definitely going to take a while. I've been tending to knit on it only at knitting group once a week, so it's only growing about 4 rows at a time thanks to my decision to knit it all in one piece. It's also black, in fingering weight yarn, which seems to horrify everyone....but it's something that I KNOW will get a lot of use in my wardrobe. That's the kind of knitter I am. I like to knit for the process, but I also like having the finished object and knowing it's something that will fit into my lifestyle. I try not to be seduced by pretty yarns in the skein if I can't honestly see them being something I would love to wear as much as look at. The sweater so far is pretty basic, mostly stockinette with a lace panel up the fronts. That rolled edge at the bottom (this is worked bottom up) will eventually be sewn down as a nice tidy hem, and the front has an i-cord edging that is worked as you go. Ideally it's worked starting right above the hem, but some knitters forget to read the directions fully when trying to mash together the chart, the i-cord, the two fronts and the back and may or may not have started it a few rows late, and decided that it definitely wasn't worth the trouble to rip it back after having cast the darn thing on three times. I'm not naming names, but I think you can guess who I'm talking about.

Last I've been meaning to pick away at giving the studio both some organization and some actual decorating. Way back in September, I saw a
burlap covered pinboard and knew I must have one.
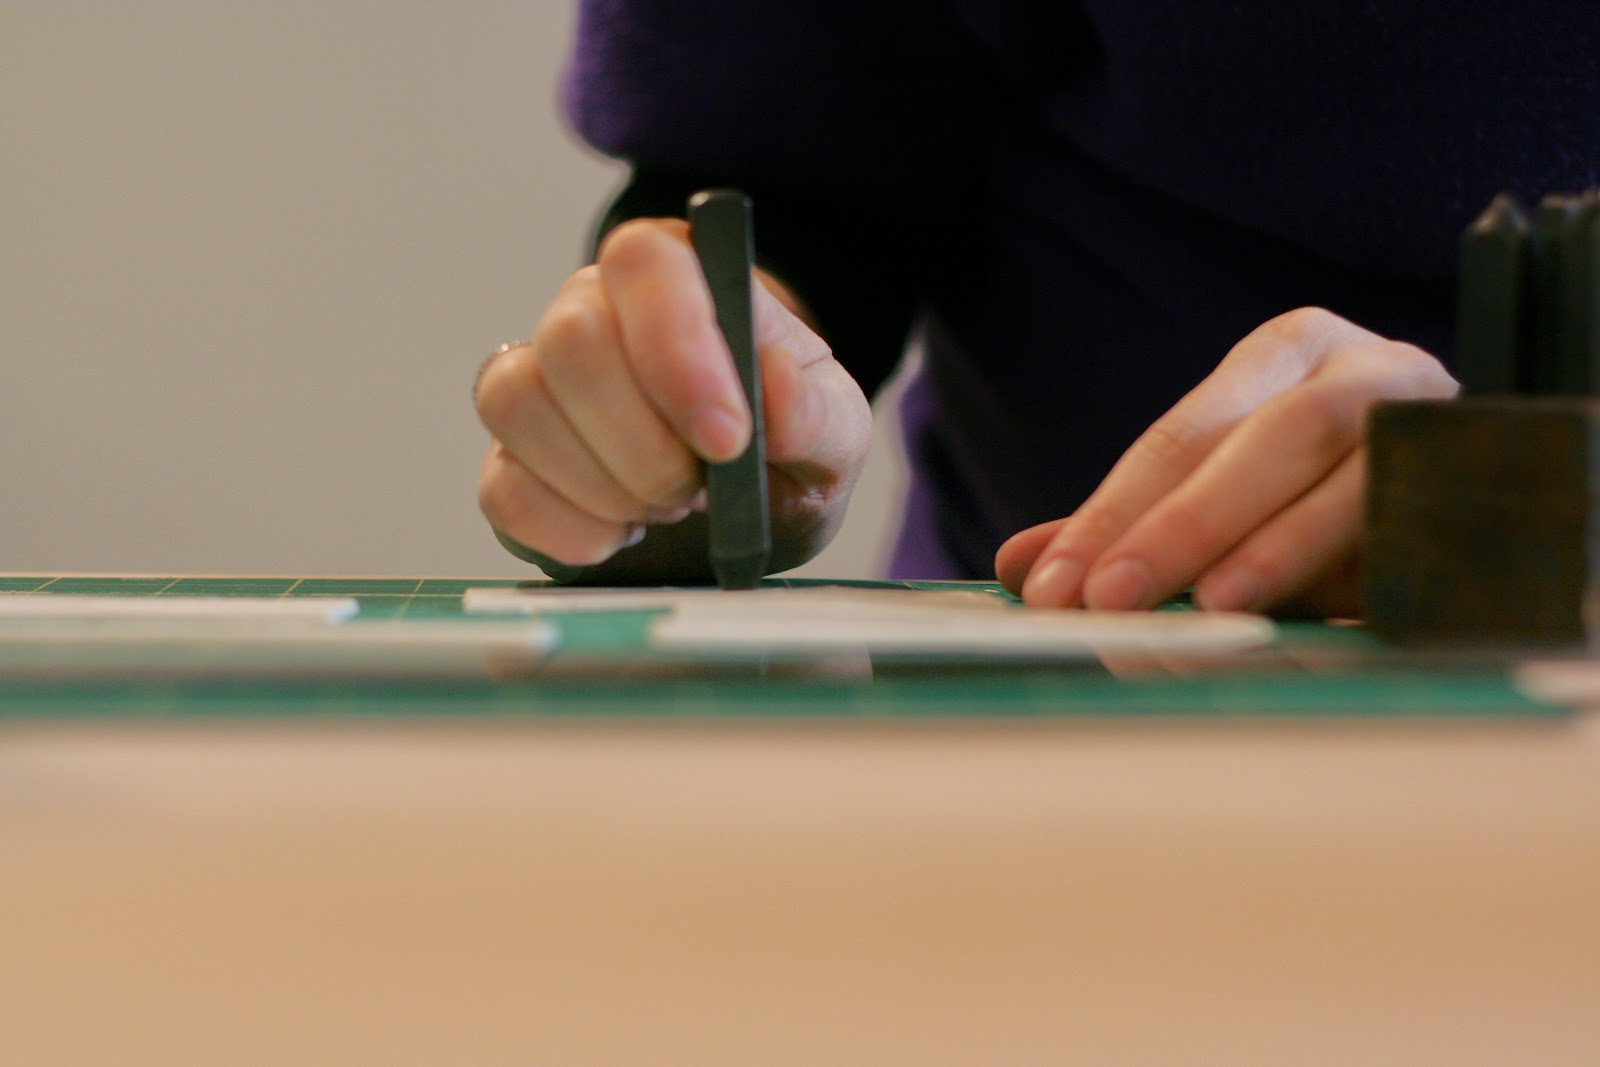
Another thing I apparently also must have is a stronger pair of shears.

I feel like I've heard of a million different people using homosote for an economical way to DIY huge pinboards. Can I tell you what a pain it was to find this stuff? I looked it up on Home Depot's website, and since it autocompleted and showed me a picture of something that looked right, I assumed they had it. Yes? NO. What actually popped up in the search was MDF, but I wasn't reading carefully. There is no way I'm going to push a pushpin through MDF, so that was definitely not going to work. I was on limited shopping time and was feeling too impatient to go somewhere else, so I punted. I thought, well I could use some insulation board as the substrate, and put some of that cork roll on it to better hold the pins, and then I can just wrap the whole thing in burlap and no one will be the wiser. Who knows, this may have actually worked, but the guy at Home Depot that day.....wow. I grabbed a 4'x8' sheet of insulation, and asked if he could cut it into 2' strips so that I could get it into my car. So he whips out a blade and just starts slicing! I asked, well....are you going to measure that? He said, no, there are marks here that are 2'. He hands me a terribly crookedly sliced piece of foam that is definitely NOT 2' wide, which I pointed out to him with actual measuring. He shrugged and kept cutting. I said, look, I am ACTUALLY looking for 2x4 pieces, so can we just start with a new piece? He grumbled but did actually go to get a new piece, which he measured and cut....I could see that it was still a bit crooked but I tried to convince myself that it would be ok. I paid and went to put it in the car....and these pieces. They were just. Wow, so bad. I sat down and sighed and thought....do I feel like dealing with this later? The answer was no, so I just grabbed the foam and the cork and walked back inside to return them. Later on, I searched out other home improvement stores and found
exactly what I was originally looking for at Menards. I'd like to say I've learned a lesson about not being impatient and just making do, but I can't be certain that is not a lie.
Speaking of being impatient, I did straighten out that fabric on the right so it's not quite as crooked. It's still a little crooked, but it's better. I need another pair of hands to help me out hanging these, so they are just leaning on the still unfinished bench for now. I think I might paint and mount a strip of pegboard between them for things like rulers and such. It's a quick turn around from the cutting table, so I think that will be handy.


Last but not least for now, I'm still chipping at that quilt. I'm getting closer! I laid out the batting again, and need about one more row of blocks on one of the short sides and one of the long sides. I've also started figuring out how I'm going to square off the edges. Not pictured yet, but I think it will work. Now my trick is to lay out the last of the flowers without getting similar patterns too close together! I think I'll have to cut a little more fabric to make that happen. I'll probably use some of the already cut scraps to piece a little bit of the backing. Next quilt.....will DEFINITELY be machine pieced!


