Tuesday, July 29, 2014

Golden Rippy's Delilah Top

A few weeks ago, the lovely Rachel of  Golden Rippy  put out a call for bloggers to participate in her very first pattern tour (including a giveaway at the bottom of the post!!) in one of our Facebook groups, and I jumped at the chance. I haven't had the opportunity to sew much for myself in recent years, so I thought this would be the perfect excuse. In addition, I've never sewn with knits before, and, well, no time like the present! In hindsight, I also don't have much experience matching up stripes, so choosing a striped knit (from Joann's) MAY not have been the wisest move. It turned out well enough in the end, but I could still use practice.


This is a great casual top, but I've actually worn it to work as well, dressed up with some black pants. I opted not to add on the bow or flowers for my version, but I plan to make the little girl version as well (the Dalia) and will likely add a little something to that one.


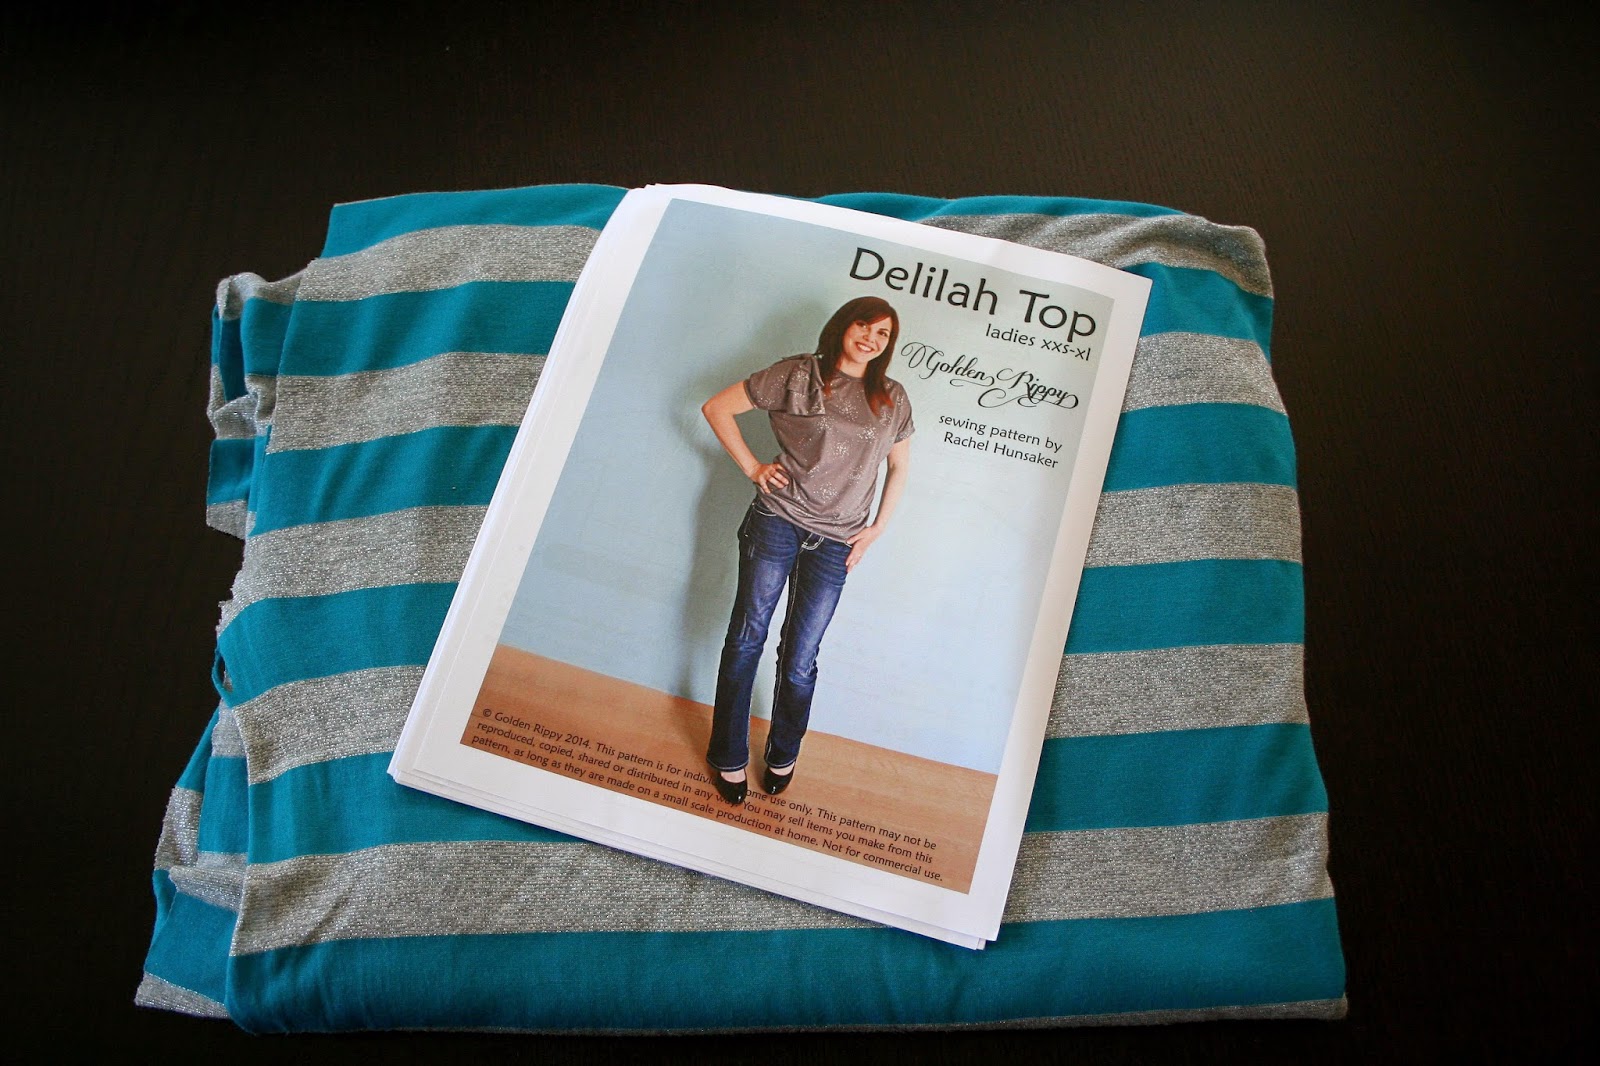
I must have been subliminally influenced to choose something with a little sparkle by the cute cover photo!


Rachel's directions were really clear, and it was easy to lay out the pattern sheets with the translucent numbering and arrows on the sheets. I often have trouble finding tops that are long enough, which is why women's top patterns are appealing to me. I decided to make this one per the pattern, and quite like the length! It's great with jeans, but I could also see making one several inches longer to wear with leggings.


I did my best to keep the fabric from sliding around as I cut the pieces in an effort to match up the stripes, which was moderately successful. Not perfect, but pretty good!

As far as sewing on the stretchy fabric, I played around with many of the stitches and tension, length and stitch width on my machine, which is a basic Brother PS-1000. I've heard things about knits being difficult to sew without a serger, so I was a little worried and tested out some of the stretchier stitches. For the most part though, I ended up just using straight stitching and didn't have much trouble with it. I just made sure to adjust my length and tension enough on a scrap piece of fabric so that I didn't get any bunching or loose threads on the back side.


Overall, the sewing went really smoothly, and adding the trim along the neckline and sleeves was really simple with Rachel's instructions. The only bump I ran into was with the waistband. I got the whole top together, tried it on, and it just wasn't quite snug enough.


I had hoped for it to be tight enough to be able to stay up on my hips. (On the plus side, check out those matching side stripes! Not quite as nice on the shoulder, but oh well.) I must have lost my mind when I took it off, because I made it about 6" shorter! It DEFINITELY didn't need to be taken in that much! I did quite a number pulling on the shirt fabric to get it reattached, that when I ultimately realized I'd made a mistake in taking it in too much, I was worried that I'd stretched it out beyond repair. I cut a new strip for the waistband just an inch and a half shorter than the pattern calls for, and that was just right. Luckily the fabric bounced back after a trip through the wash!


I love this top. It's so comfortable! The drape of the fabric and the little gather at the waist give it enough shape and movement without being tight, which is awesome.

So here are the details if you'd like to make a Delilah Top of your own. The pattern includes:
  • illustrated instructions
  • six sizes  XXS to XL
  • 2 sleeve lengths
  • 2 embellishment options
  • printing guide
  • pattern layout guide
  • grainlines
  • 28 page PDF pattern download to make the top
  • fabric yardages for 45″ and 60″ widths
  • pattern pieces with seam allowances
  • professionally designed and graded pattern
Want to win the pattern? 


Prize Package & Rules

Two winners will each win:

            * 2 Patterns of your choice from Golden Rippy


The Contest Rules:

You must be 18 to enter.

You can gain entries by entering the Rafflecopter Prompts.

Giveaway ends: 8/6/14 at midnight PST.
Two winners will be chosen and announced on 8/7/14.


a Rafflecopter giveaway

Also be sure to check out the pattern on these other blogs in the next several days!


Monday- July 28

A Vision To Remember  www.avisiontoremember.com

Fabulous Home Sewn    http://www.fabuloushomesewn.blogspot.ca


Tuesday- July 29

FriendsStitchedTogether     http://friendsstitchedtogether.com/

Cozy Cape Cottage    http://cozycapecottage.blogspot.com/

Gracious Threads    www.graciousthreads.ca

Wednesday- July 30


The Sewing Geek    http://www.thesewinggeek.com/

Sprouting JubeJube    http://sproutingjj.blogspot.ca/

Thursday- July 31

My Taylor Made      www.mytaylormade.blogspot.com

Mimi's Mom      http://www.mimismom.com

Rebel & Malice  rebelandmalice.blogspot.com

Friday- Aug 1

Stitchwerx Designs   http://stitchwerx.net


E-beth Designs   http://ebethdesigns.com/

Saturday- Aug 2


Marmalade Forest   www.marmaladeforest.com

Ali Cat & Co    alicatco.blogspot.com

Sunday- Aug 3


Monday- Aug 4


Tuesday- Aug 5

Mae & K    http://maeandk.com/

The Crazy Tailor   http://thecrazytailor.com

Blogs Like A Mother   http://blogslikeamother.blogspot.com

Wednesday- Aug 6

Bebe Lambs    www.bebelambs.com


Lady and the Gents    www.theladyandthegents.blogspot.com
 

Thanks so much to Rachel for providing me this cute pattern! All opinions, mistakes and rambling are my own.
 

Thursday, July 24, 2014

HTML-oh boy

For those of you who are not bloggers, the long and short of it is that I am a wizard and I made my website go from looking like this:


to this: (the difference is on the right if you can't find it!)


For those of you who ARE bloggers, the longer of it is that I was messing around and realized that the "subscribe to feed" link on my old buttons sent you to an error page rather than to the feedburner subscription page. Bummer! It had seemed like I had set it all up correctly through addthis.com, but apparently not. Now, I don't know about you all, but I read blogs almost exclusively through a feed reader. (I use Feedly, which I don't looooove as much as I loved Google Reader, which was quirky in its own ways, but I was used to the quirks.) I tend to visit the webpages themselves only when I want to leave a comment, I'm searching for something specific, or when they are brand new to me and I want to subscribe. So to have my own subscribe button not work?! For shame.

I went to Add This, but somehow I wasn't able to find the code for what I had already installed so that I could edit it. I wasn't convinced that it would work better if I re-did it through their site since I was fairly certain I'd done it correctly in the first place, so....I decided to DIY. This was terrifying. HTML and coding make my eyes glaze over, because I just do NOT understand it at all. All those carrots and colons and slashes....I mean HOW do they make pictures into buttons that do stuff? Where do the pictures come from? What sorcery is this??

Luckily, I found a surprisingly intuitive website that spelled it all out for me, at least within the confines of this little blogger sidebar widget: http://blogger-hints-and-tips.blogspot.com/2012/05/simple-subscription-buttons-for-blogger.html

You guys. It was EASY. And it made SENSE! Ok, it still took me a few hours, but I didn't get a headache, so I am calling it easy. This article broke it down into five simple steps, and I pretty much followed them to the letter.

1 Choose which social networks you want buttons for

 Obviously email subscription was my most important button, since that was the whole point of opening this can of worms. I liked adding an email me option there too, and I felt it was important to link to my Etsy shop. I've been using Instagram most lately, which is a surprise to me. I use Facebook from time to time, and while I don't fall down the Pinterest hole as often as I once did, I do still love it for collecting inspiration or for researching new projects. Because I need to take on new projects? Finally I also added my Twitter and an easy link to Bloglovin, another feed reader that seems to be gaining popularity.

2 Get image files

 This was actually kind of tricky. You can get the logos that are branded by service, sort of like my old buttons. It's easy to ID the service, but they stick out like a sore thumb because their themes don't match each other, and they all don't match my more minimalist aesthetic. There are luckily lots of free social media button packages out there that look prettier, but I had a hard time finding ones I liked that also had all of the buttons I needed based on step 1. In the end, I ended up downloading a set that had five of the icons I needed, and then I created the other three myself in Photoshop to match the same style. I'd add a "Step 2 part B" to this list in that the images need to be hosted somewhere. To answer my question to myself above, that's where the pictures come from. They need to live somewhere on the internet with their own unique web address. Then the HTML mumbo jumbo references that address, which we'll get to in step 3. I uploaded mine to a Picasa web album.

3 Customize the gadget code

This is where my eyes normally glaze over. They did at the start. But I forced myself to get through this section, and this breakdown at the end made SO. MUCH. SENSE. to me. I'm taking this next bit directly from her website, so I cannot take credit for this actually making sense. Basically, to make the little button do something, there is code behind it that looks like this:


 Then she gave the actual English interpretation for what that means:
A href statement = the address of what is being subscribed to
img src = the image address
Style = commands for the image (and no, I don't really know how to manipulate those)
alt-text = (the latter is read out to visually-impaired people)

I mean, whoa. My mind was blown. With this translation at my side, I was able to take this little image (for Bloglovin)


and put it's little address in the relevant part of the code

 and voila!


it magically showed up there on the right hand side of the screen!

Ok, it still wasn't QUITE "voila." I did some messing around with adding line breaks in a couple of different ways until I liked the look of it, which took a lot of, ok, if I change this and save and reload....do I like it? No. Change THIS and save and reload. Which was a little annoying. But I managed, and I didn't break anything.

Technically there are two more steps to the tutorial - 4, Add the code to your website and 5, Back it up, but I did steps 3-5 over and over again in succession, so they felt like one step at the time. But anyway, hats off to Mary Curtin, who got me through this bit of actual manual computer coding without swearing, crying, or drinking to excess. Yay!