
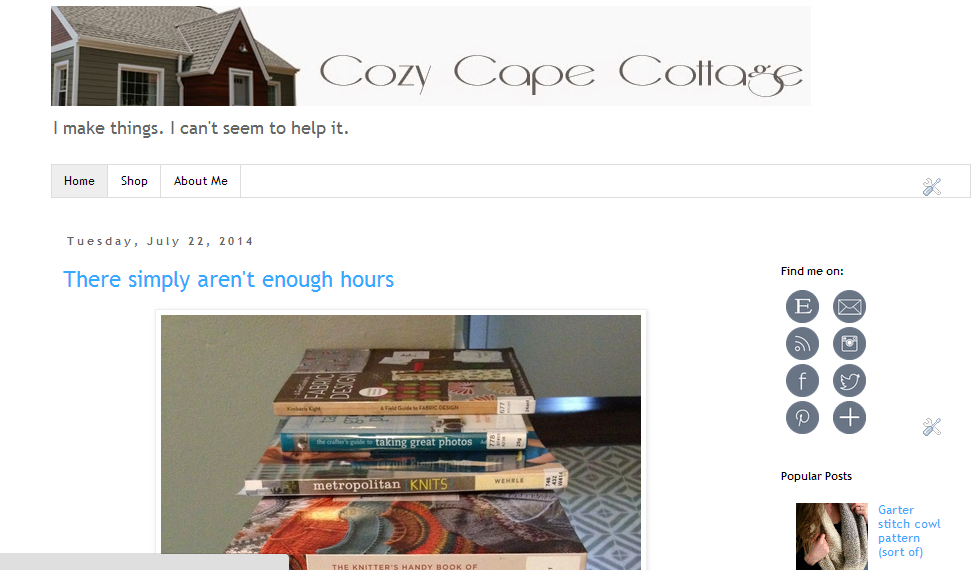
For those of you who are not bloggers, the long and short of it is that I am a wizard and I made my website go from looking like this:

to this: (the difference is on the right if you can't find it!)
For those of you who ARE bloggers, the longer of it is that I was messing around and realized that the "subscribe to feed" link on my old buttons sent you to an error page rather than to the feedburner subscription page. Bummer! It had seemed like I had set it all up correctly through addthis.com, but apparently not. Now, I don't know about you all, but I read blogs almost exclusively through a feed reader. (I use Feedly, which I don't looooove as much as I loved Google Reader, which was quirky in its own ways, but I was used to the quirks.) I tend to visit the webpages themselves only when I want to leave a comment, I'm searching for something specific, or when they are brand new to me and I want to subscribe. So to have my own subscribe button not work?! For shame.
I went to Add This, but somehow I wasn't able to find the code for what I had already installed so that I could edit it. I wasn't convinced that it would work better if I re-did it through their site since I was fairly certain I'd done it correctly in the first place, so....I decided to DIY. This was terrifying. HTML and coding make my eyes glaze over, because I just do NOT understand it at all. All those carrots and colons and slashes....I mean HOW do they make pictures into buttons that do stuff? Where do the pictures come from? What sorcery is this??
Luckily, I found a surprisingly intuitive website that spelled it all out for me, at least within the confines of this little blogger sidebar widget: http://blogger-hints-and-tips.blogspot.com/2012/05/simple-subscription-buttons-for-blogger.html
You guys. It was EASY. And it made SENSE! Ok, it still took me a few hours, but I didn't get a headache, so I am calling it easy. This article broke it down into five simple steps, and I pretty much followed them to the letter.
1 Choose which social networks you want buttons for
Obviously email subscription was my most important button, since that was the whole point of opening this can of worms. I liked adding an email me option there too, and I felt it was important to link to my Etsy shop. I've been using Instagram most lately, which is a surprise to me. I use Facebook from time to time, and while I don't fall down the Pinterest hole as often as I once did, I do still love it for collecting inspiration or for researching new projects. Because I need to take on new projects? Finally I also added my Twitter and an easy link to Bloglovin, another feed reader that seems to be gaining popularity.
2 Get image files
This was actually kind of tricky. You can get the logos that are branded by service, sort of like my old buttons. It's easy to ID the service, but they stick out like a sore thumb because their themes don't match each other, and they all don't match my more minimalist aesthetic. There are luckily lots of free social media button packages out there that look prettier, but I had a hard time finding ones I liked that also had all of the buttons I needed based on step 1. In the end, I ended up downloading a set that had five of the icons I needed, and then I created the other three myself in Photoshop to match the same style. I'd add a "Step 2 part B" to this list in that the images need to be hosted somewhere. To answer my question to myself above, that's where the pictures come from. They need to live somewhere on the internet with their own unique web address. Then the HTML mumbo jumbo references that address, which we'll get to in step 3. I uploaded mine to a Picasa web album.
3 Customize the gadget code
This is where my eyes normally glaze over. They did at the start. But I forced myself to get through this section, and this breakdown at the end made SO. MUCH. SENSE. to me. I'm taking this next bit directly from her website, so I cannot take credit for this actually making sense. Basically, to make the little button do something, there is code behind it that looks like this:

Then she gave the actual English interpretation for what that means:
A href statement = the address of what is being subscribed to
img src = the image address
Style = commands for the image (and no, I don't really know how to manipulate those)
alt-text = (the latter is read out to visually-impaired people)
I mean, whoa. My mind was blown. With this translation at my side, I was able to take this little image (for Bloglovin)
and put it's little address in the relevant part of the code

it magically showed up there on the right hand side of the screen!
Ok, it still wasn't QUITE "voila." I did some messing around with adding line breaks in a couple of different ways until I liked the look of it, which took a lot of, ok, if I change this and save and reload....do I like it? No. Change THIS and save and reload. Which was a little annoying. But I managed, and I didn't break anything.
Technically there are two more steps to the tutorial - 4, Add the code to your website and 5, Back it up, but I did steps 3-5 over and over again in succession, so they felt like one step at the time. But anyway, hats off to Mary Curtin, who got me through this bit of actual manual computer coding without swearing, crying, or drinking to excess. Yay!
No comments:
Post a Comment