Tuesday, October 14, 2014

Woodworker I am not

I feel like the cutting table is the lynch pin to this whole sewing studio remodel project....and construction has begun! I've been agonizing for weeks about what sort of style I'd like to shoot for. I love the aged and whitewashed finishes I've seen lately on blogs like Yellow Brick Home and I Heart Organizing....but I've been on the fence. My sister has been advising me against it, so I'd been willing to be pushed one way or another. 


While shopping for lumber, I sent her one last photo to give me a final vote. A stack of navy swatches I'm thinking about for the base, and either a white wash stain, or straight up natural oil. The verdict? Well, I definitely brought one home...and I'll save the results for later!


Meanwhile, I'm SO getting a label maker at some stage of this renovation....I canNOT handle this!!! Do you see an extension cord somewhere in there? Please?


I sort of felt like I was channeling a toddler at many points this weekend...."I do it mySELF!" There's a fair chance that this table might be equal parts wood and wood filler....but at least all my limbs and appendages are intact, and I think I only got one splinter.


I spent a lot of time boxing myself in.


See above for some of my soon-to-be-wood-filler-filled-mistakes....and the reason I now understand why everyone in blog land is obsessed with the Kreg Jig. That's the second bit I snapped by the way. I only have, oh, approximately 16 holes that need to be drilled on an angle, and a billion that go at 90 degree angles. I snapped both bit within about an hour of one another on those angled holes. That pretty much put an end to my progress. But in better news, I've acquired two new bits and I'm hoping to make more progress as soon as I get a few free hours!

Thursday, October 9, 2014

The best use of my time

It's been a totally crazy couple of weeks at work, and it doesn't look like that's going to let up anytime before the end of the year. It was one of those weeks where I really had to push beyond my comfort zone and take on tasks and responsibilities that I haven't done before. I won't say everything went perfectly, but we all survived and no one cried, so that's pretty good, right? All that to say that to make the deadline I had to shuffle up my work schedule and blogging fell off the list. Anyone miss me? :)

Also, remember how I devoted myself to finishing things?


Whoopsie...I got distracted. Apparently I thought shiny new things were more important than my finishing promise to myself.

The orange hat is to go along with last year's pumpkin costume - it still fits (I'm pretty sure...), the hat no longer does.


I basically took the idea from the split brim toddler hat but used the worsted weight yarn I had on hand. I modified the stitch count based on Tin Can Knit's Barley hat, and completely forgot to pay attention to the rate of increases, which is why the top is pointier than I'd intended. I also didn't feel like ripping it back, so I stuck a pompom on it and called it a day. Also, toddlers who hate hats love hats with pompoms. Just FYI.

And the slippers? Well...I got cold. While I love love love my tall slipper socks, I don't like wearing them with non-skinny jeans/leggings, so I've been thinking about a new short slipper pattern for a while. According to Pinterest, I learned about thrums approximately 36 weeks ago, and they popped into my head again last week thanks to Ysolda's series of posts about them. What's a thrum? Short story, it's a cloud of soft and warm that evidently sort of turns into a weatherproof felt layer as you wear it.


I love her pattern, but it wasn't quite what I was looking for. I started working on my own basically by just adding thrums to a pattern I've had in my library for about 5 months. It turned out ok, but not perfect. It fits and all, but because it was worked top down, I couldn't try it on until it was finished. I have some plans hatching to figure out a way to work them toe up....and the bonus is that the little "hearts" made by the super warm thrums will be right side up if I go toe up!

Oh, and I've got this on the horizon....


It's also possible I bought this screen printing kit: (affiliate link)


Yep. I clearly cannot decide on the best use of my time. On the bright side, I haven't totally
abandoned my goals - I've definitely worked on both my socks and my sweater (just enough to realize that I'd missed one of those dastardly "at the same time" directions, so I'll be looking into the adventure of an afterthought buttonhole in the future!) this week, so I'm not a total scatterbrained disaster!

Thursday, October 2, 2014

Finally finished

Ravelry says that I finished this Nova sweater dress in June.


That's not entirely true. Yes, I finished the knitting. Yes, I wove in the ends. I even bought grosgrain ribbon and buttons at some point shortly thereafter. But I put it away. I didn't have it in me to finish it.


You see, I was going through a hard time when I knit this dress. There was a painful loss in my life, and it was all I could do to just mindlessly knit, row after row, a little shaping but mostly stockinette for miles. It was therapeutic. It was something to do other than cry. I needed something to hold on to, to rip apart if it wasn't working, to put back together again because it could, in fact, be put back together.


I pulled it out a few nights back. I on a high after finishing my wallaby sweater for the Commuter Knitter finish-a-long. I didn't put this dress on my list, because I didn't know if I'd be able to. I was happy to realize that when I got it out, I didn't see it as a sign of pain, but as a symbol of making it through.

I hadn't quite realized how much it had helped me until I was listening to another podcast this week, from Michelle of ACTually Knitting (who, by the way, I think has such a soothing voice, great for a podcast). She was talking about how the simple act of knitting has helped her get through some really hard times this past year, and wanted to start a discussion of what other people had done or achieved or accomplished #becauseofknitting. At first I thought of my awesome knitting group and the slow but steady growth of my shop, but as she kept talking and started revealing the deeper things, the real things, I realized that knitting had helped me too.


(on more technical notes, I wish I'd sewn all the buttons on so the direction of the thread was the same, but I didn't. I tried lining the back of the buttonhole side with ribbon, but it didn't work out. I did line the back of the buttonband, but I didn't use backing buttons and I'm still not sure what they are for. The ribbon at the hem will hopefully stop that edge from flipping up the way stockinette garments so often do, despite the garter stitch border. The yarn used is toddler friendly Lion Brand Baby Soft and Bernat Softee Baby acrylics in DK weight. Overall I really enjoyed the pattern, and I think the only change I made was to reverse the order of the shaping stitches in the skirt.)


Tuesday, September 30, 2014

Getting closer...the basement studio

As I tend to do from time to time, I've totally switched gears with the aesthetic for the basement studio from my last update. While I totally love and appreciate the all white, Scandinavian look...it's just not MY look. I was just afraid of the whole space looking far too cold and "basement." Yes, I probably could warm up the space with white floors with enough textiles and wood, but this has sort of cost quite a bit more than I already loosely planned to spend. I also could have epoxied the floor and redone it with a laminate if I decided I hated it, but again, that's both more money and more time, another thing of which I've spent more than I hoped!

So. I changed my mind.


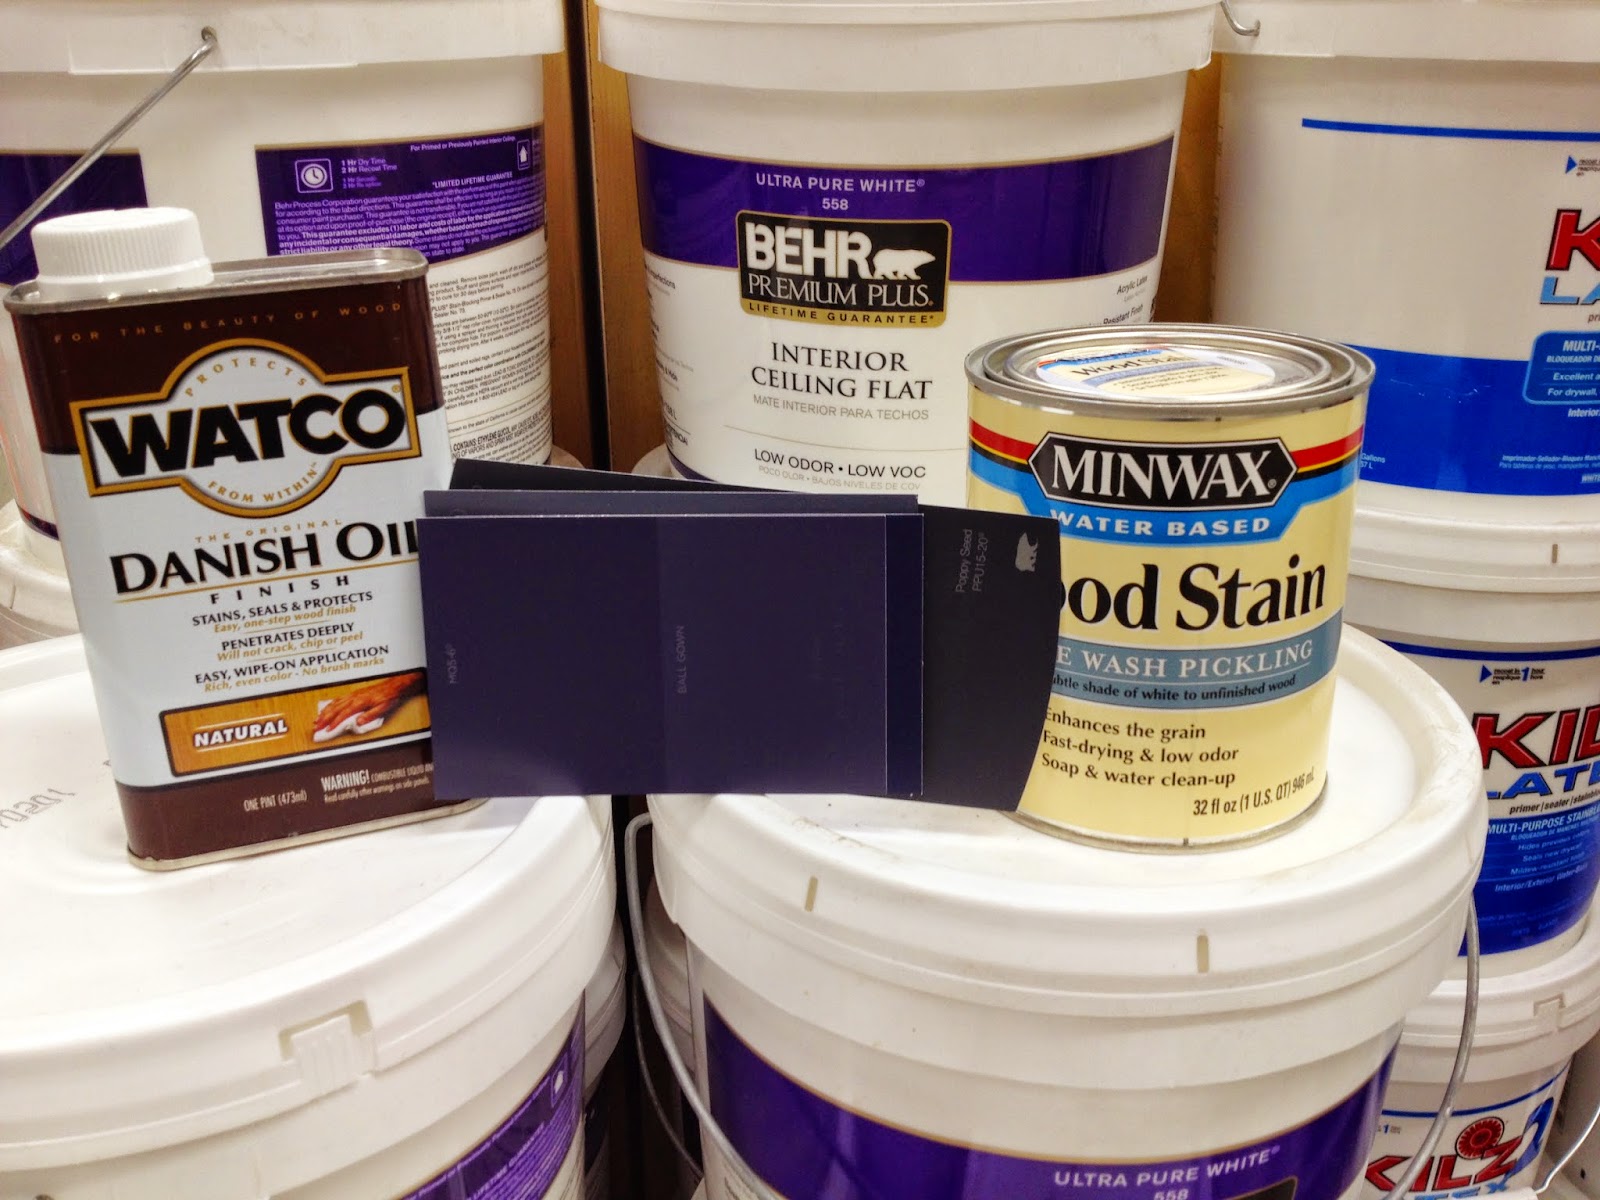
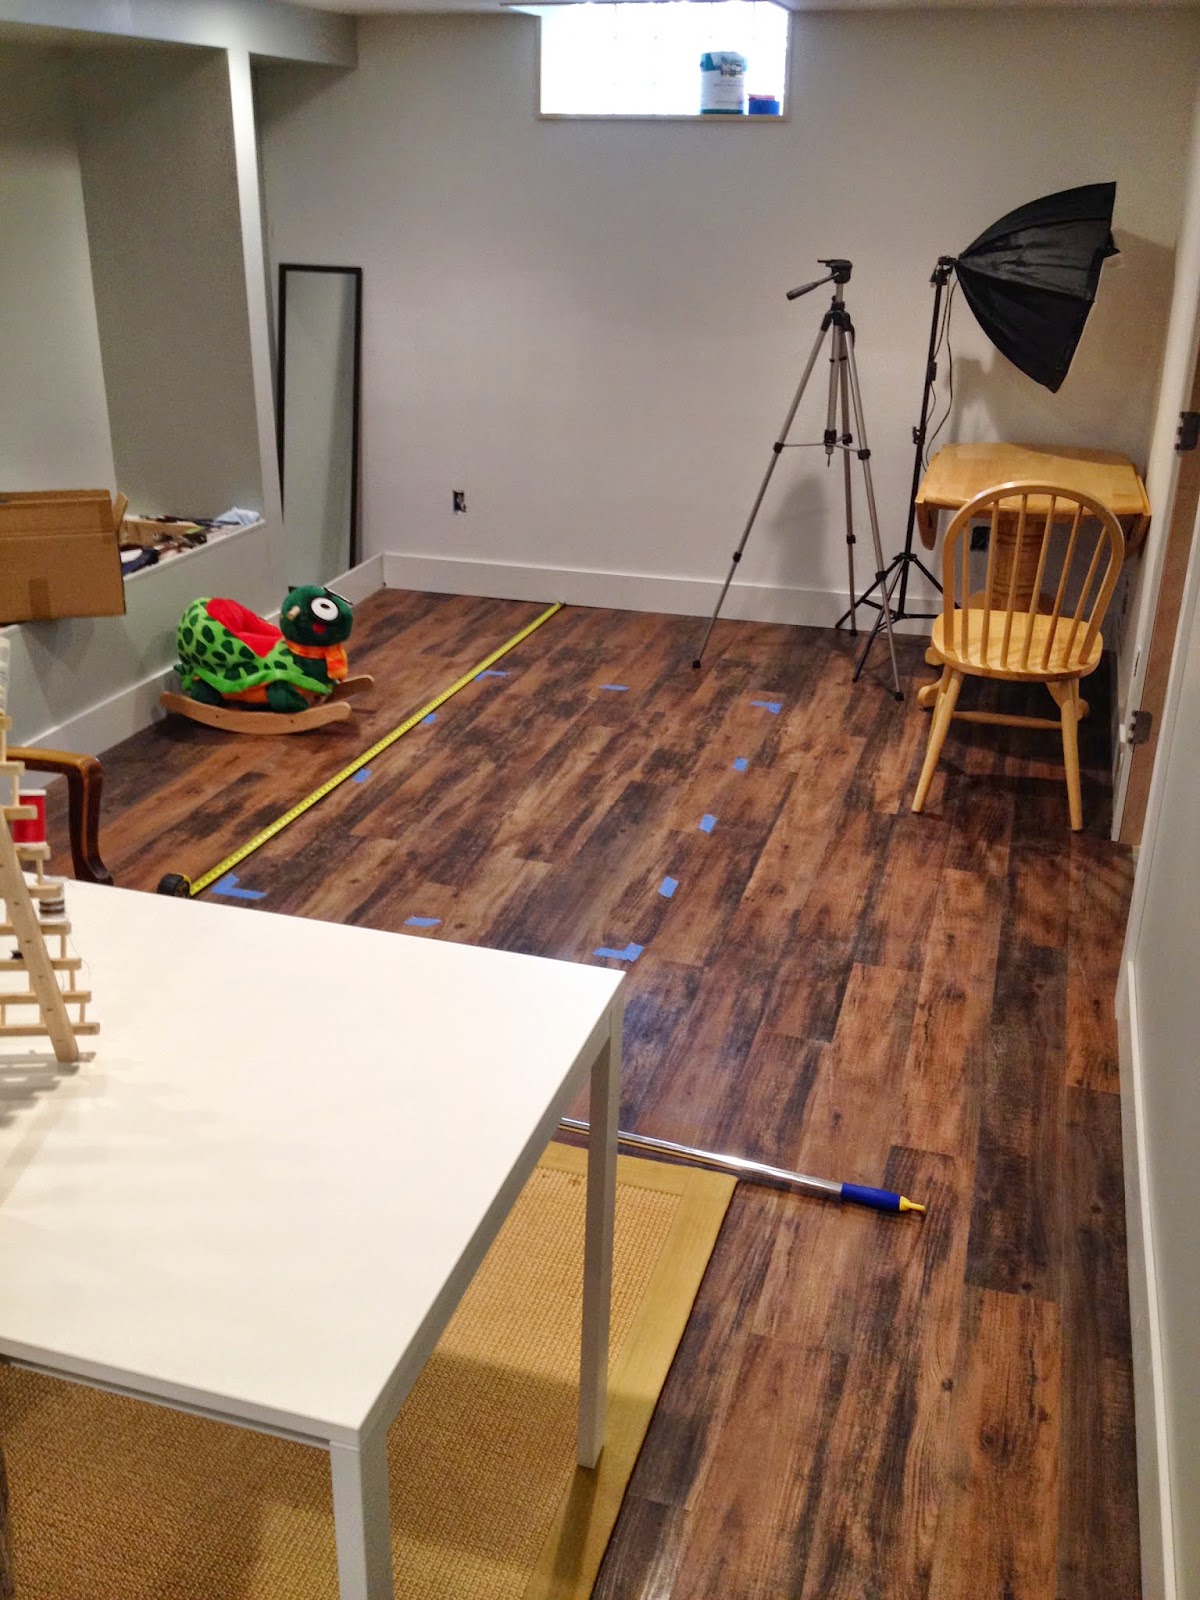
We decided to go the safe route, and put in a wood-look laminate (I can't find a link, but I picked it up on a sale at 
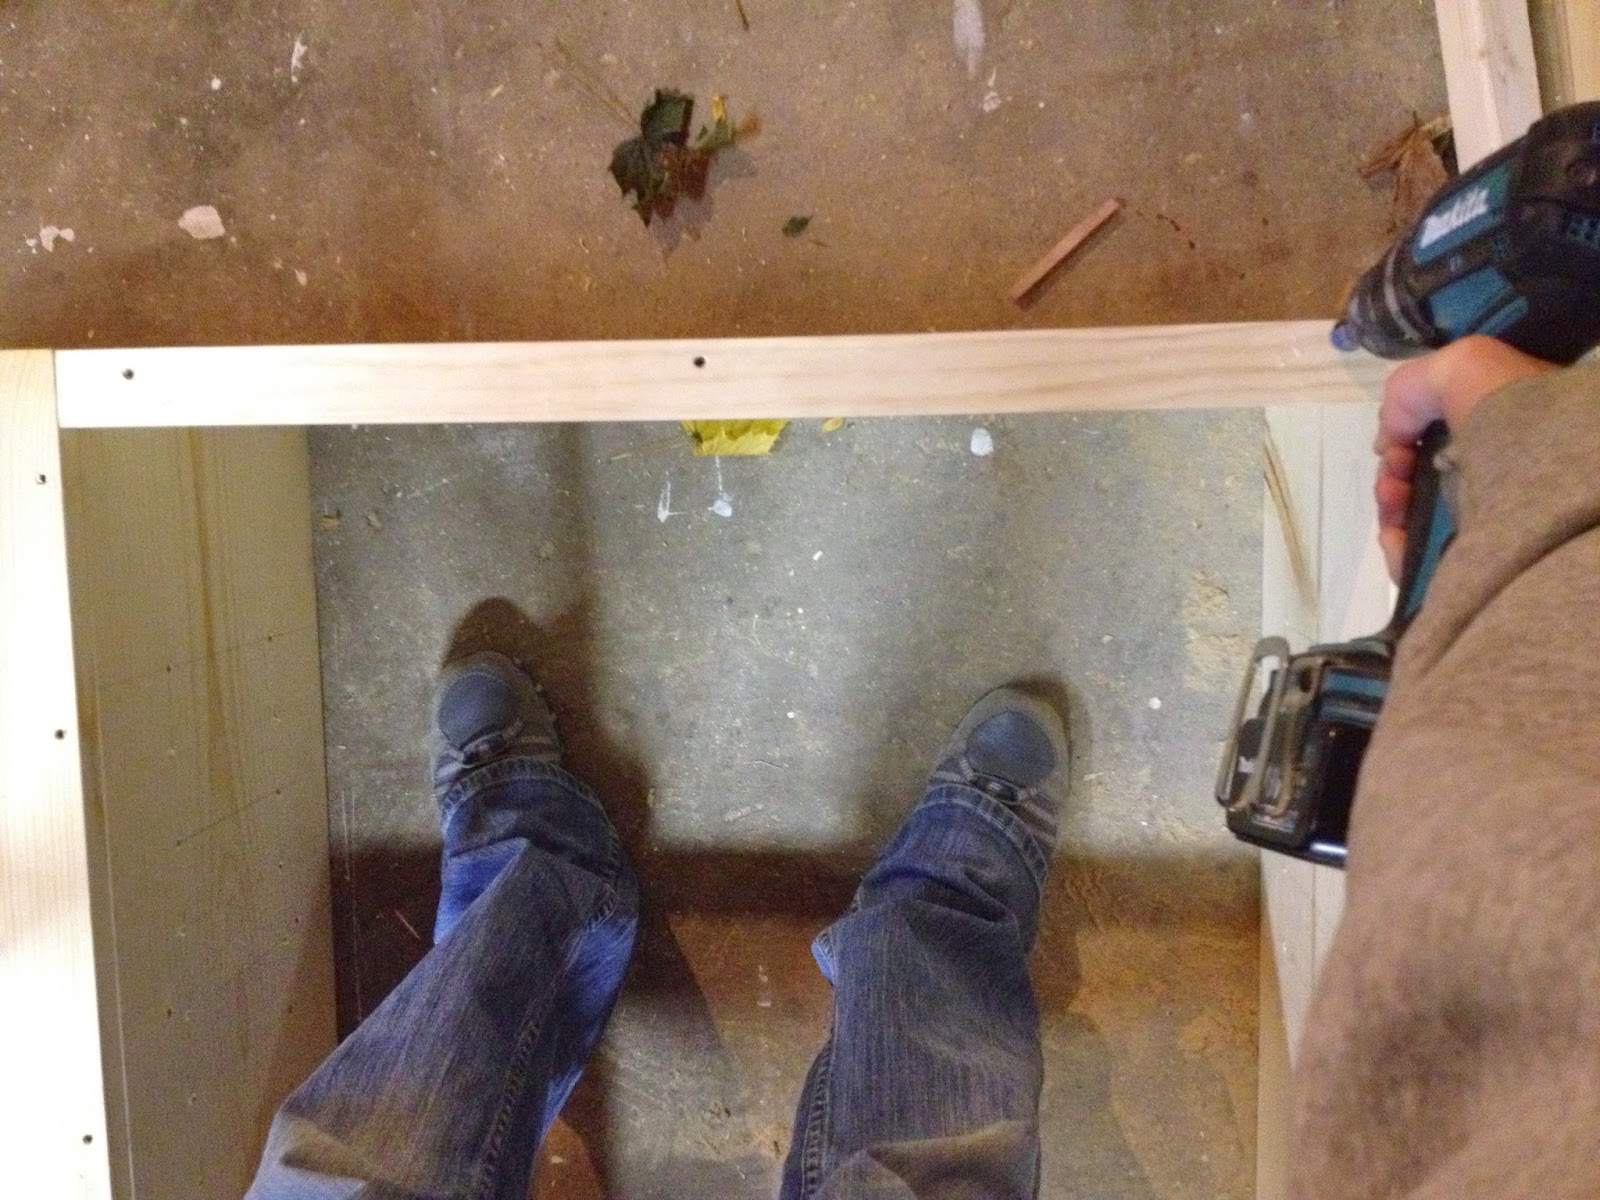
HOBO for about $1.50/square foot). I debated back and forth in the store for quite a while between the wood we chose, which has the same tone as the rest of our house, and something more like a wide, rustic plank, and a couple of white washed options. In the end I decided it made most sense to match the rest of the house. Installation was pretty easy. In fact, the hardest part was just getting all the drywall mud and dust and general construction yuck off the floor! Our floors are not at all level, so we filled in the obvious holes as best we could. I do have some concerns about the adhesive - these were peel and stick, rather than a product with a separate adhesive. We walked all over it many times, and used a roller as well, but I can still feel a few spots that aren't perfectly adhered. I think we will wait and see if anything pops up, and maybe consider a separate adhesive to re-stick some of the looser pieces.

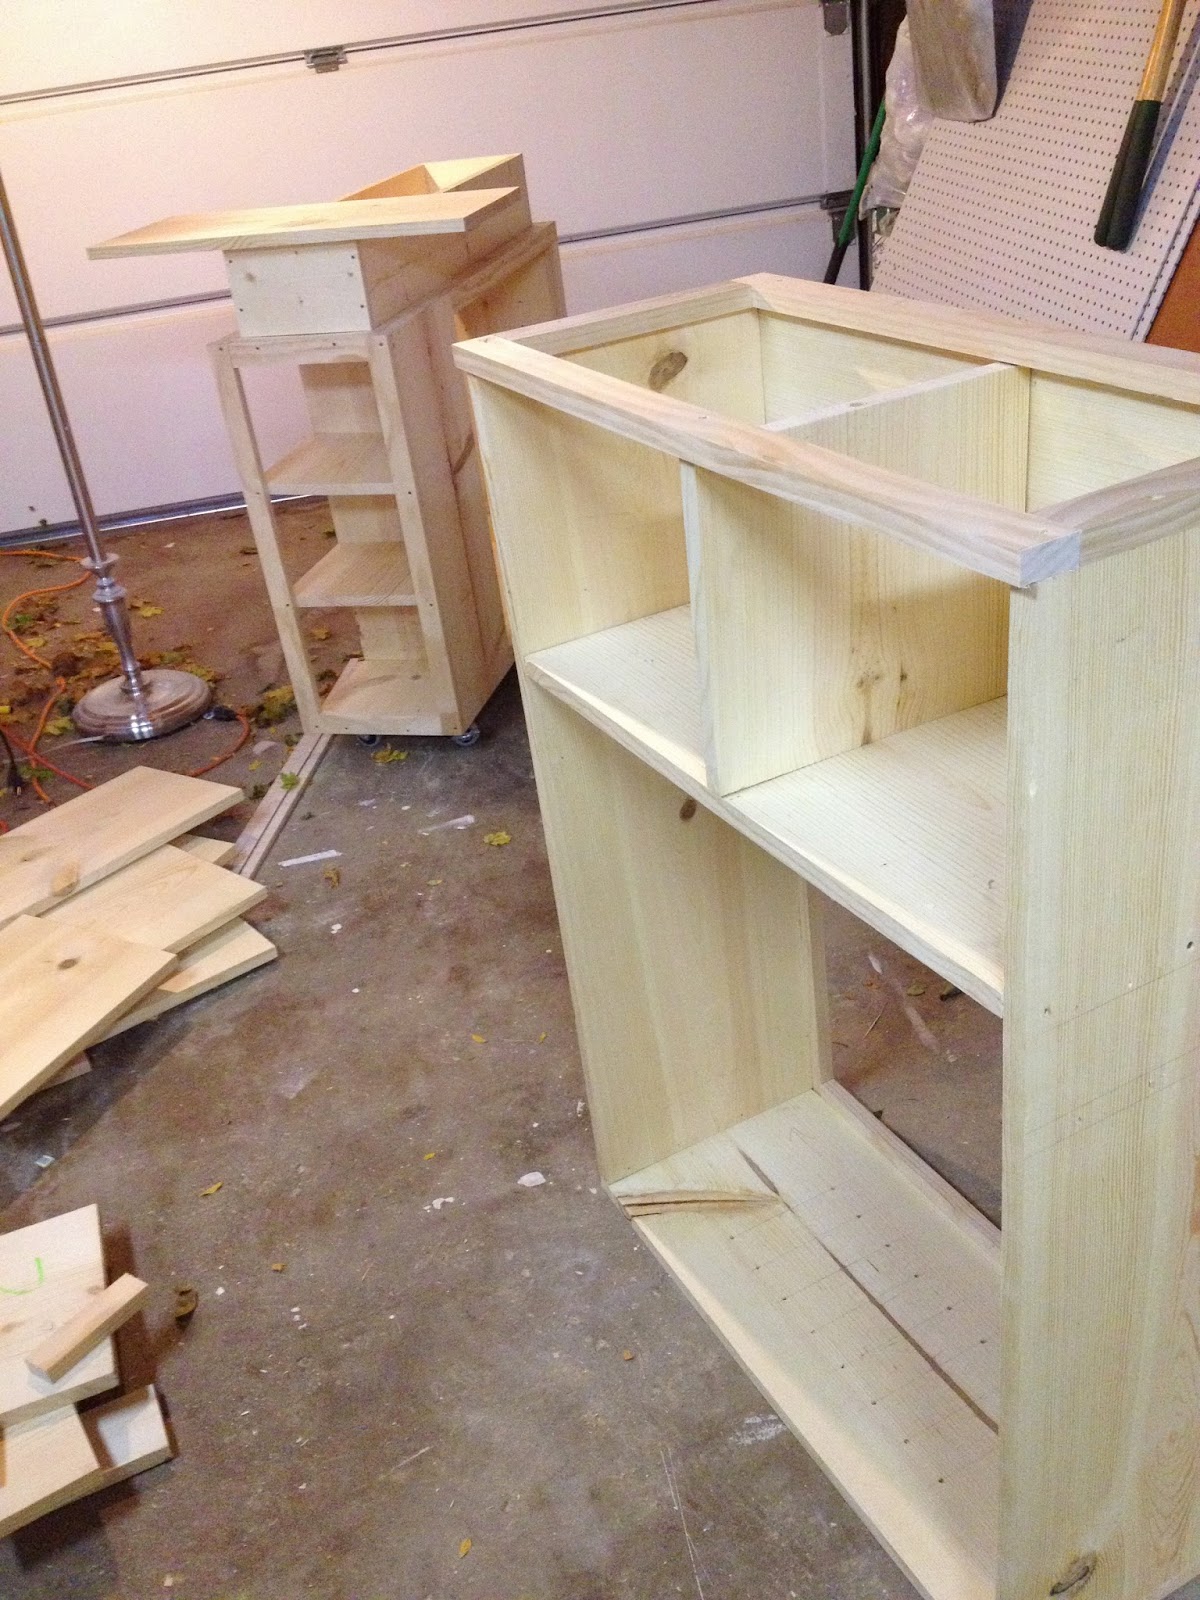
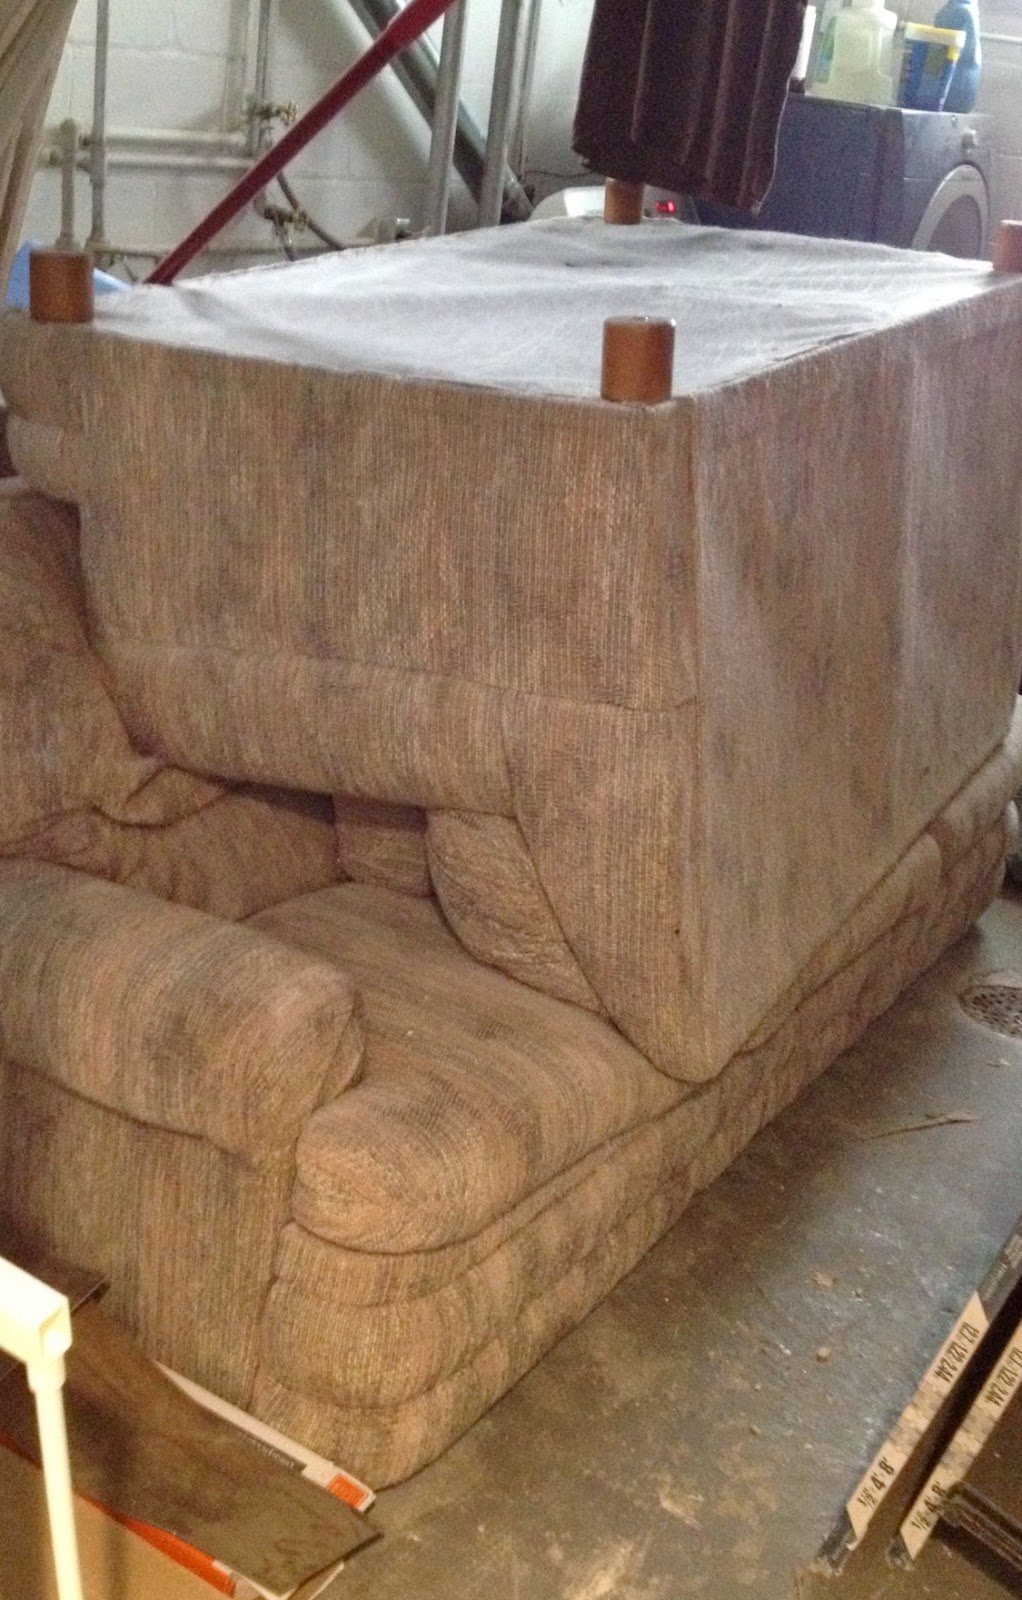
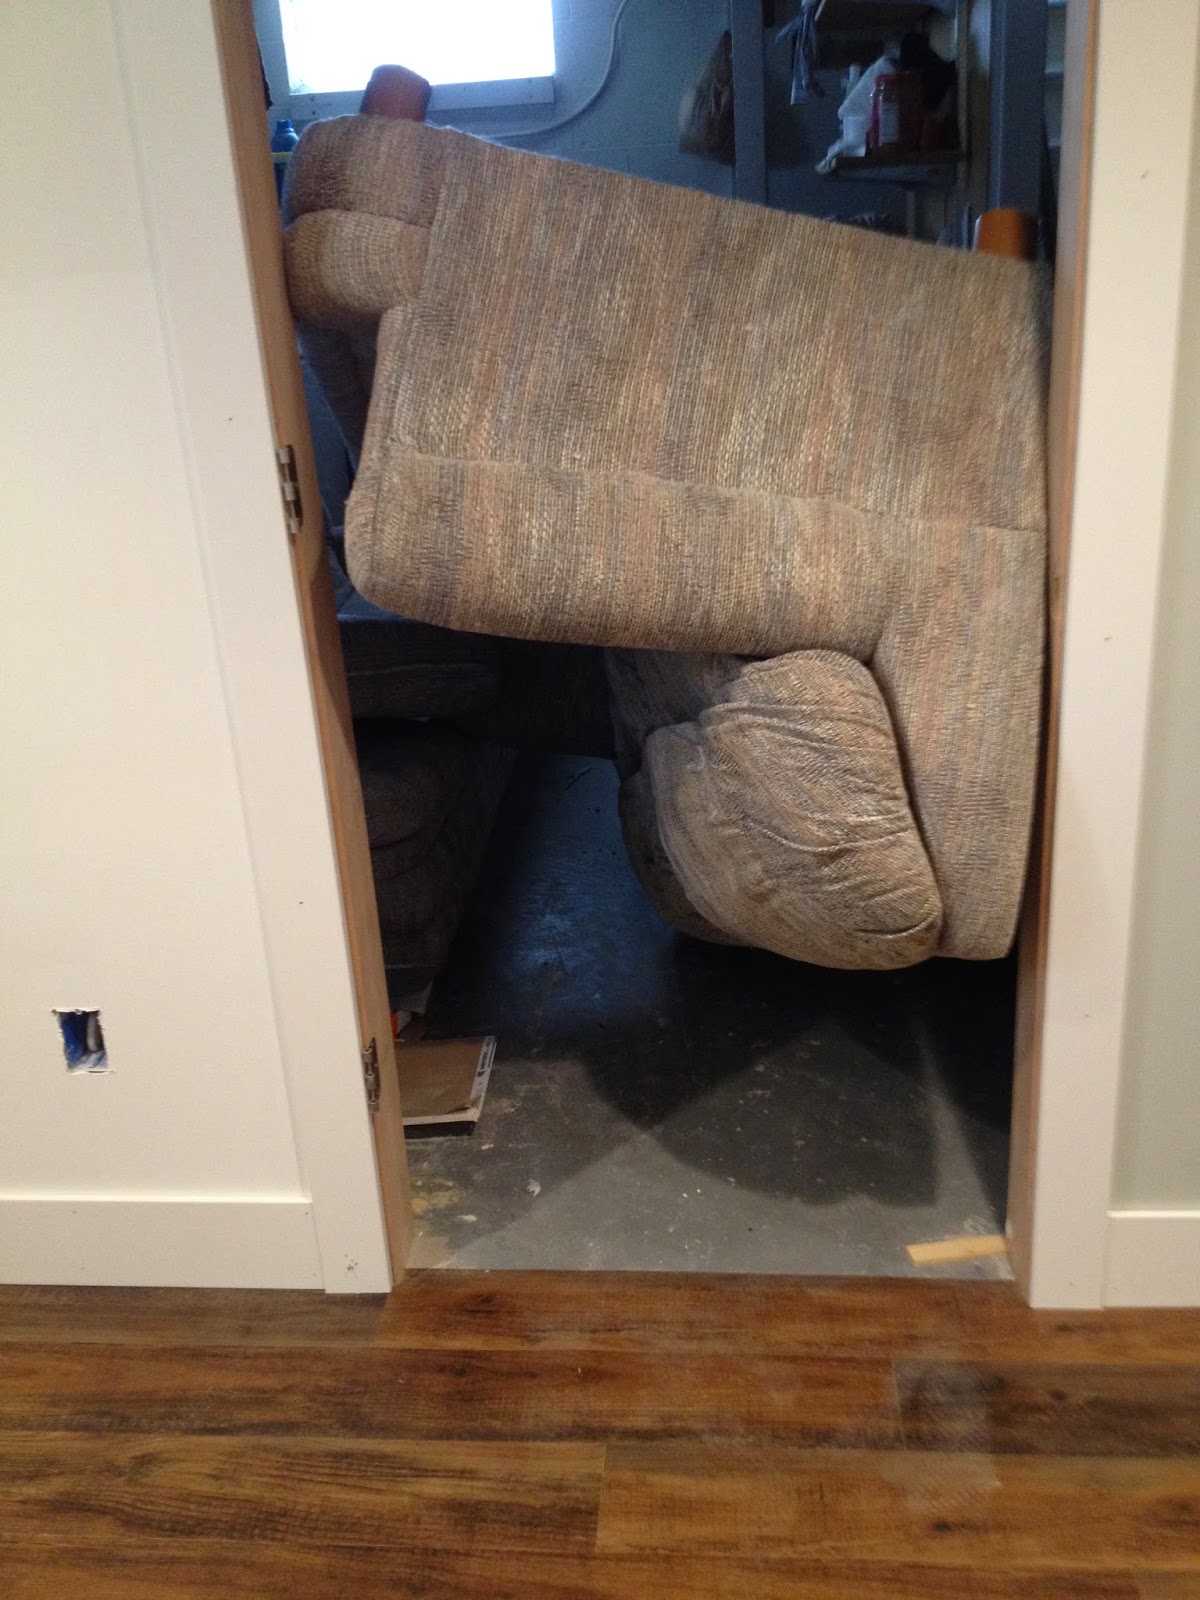
So with the flooring and trim largely done, I got a very large dose of impatience, and apparently some sort of super strength delusions, because I decided that it was perfectly feasible to move these into the room all by myself.


If you know me in life, you know that I'm not what you might call muscular. And if you know these couches in life, you know that the bigger one has a couple of recliners built in, which makes it about a billion pounds.


It was a bit of an experience, but I managed the little one without too much trouble. The bigger one? Well, I don't have any pictures because if I'd stopped to document the process it's possible I may have been crushed and killed. There was a lot of sweating, relatively little cursing, and I only got pinned into weird places about twice. But I did it!

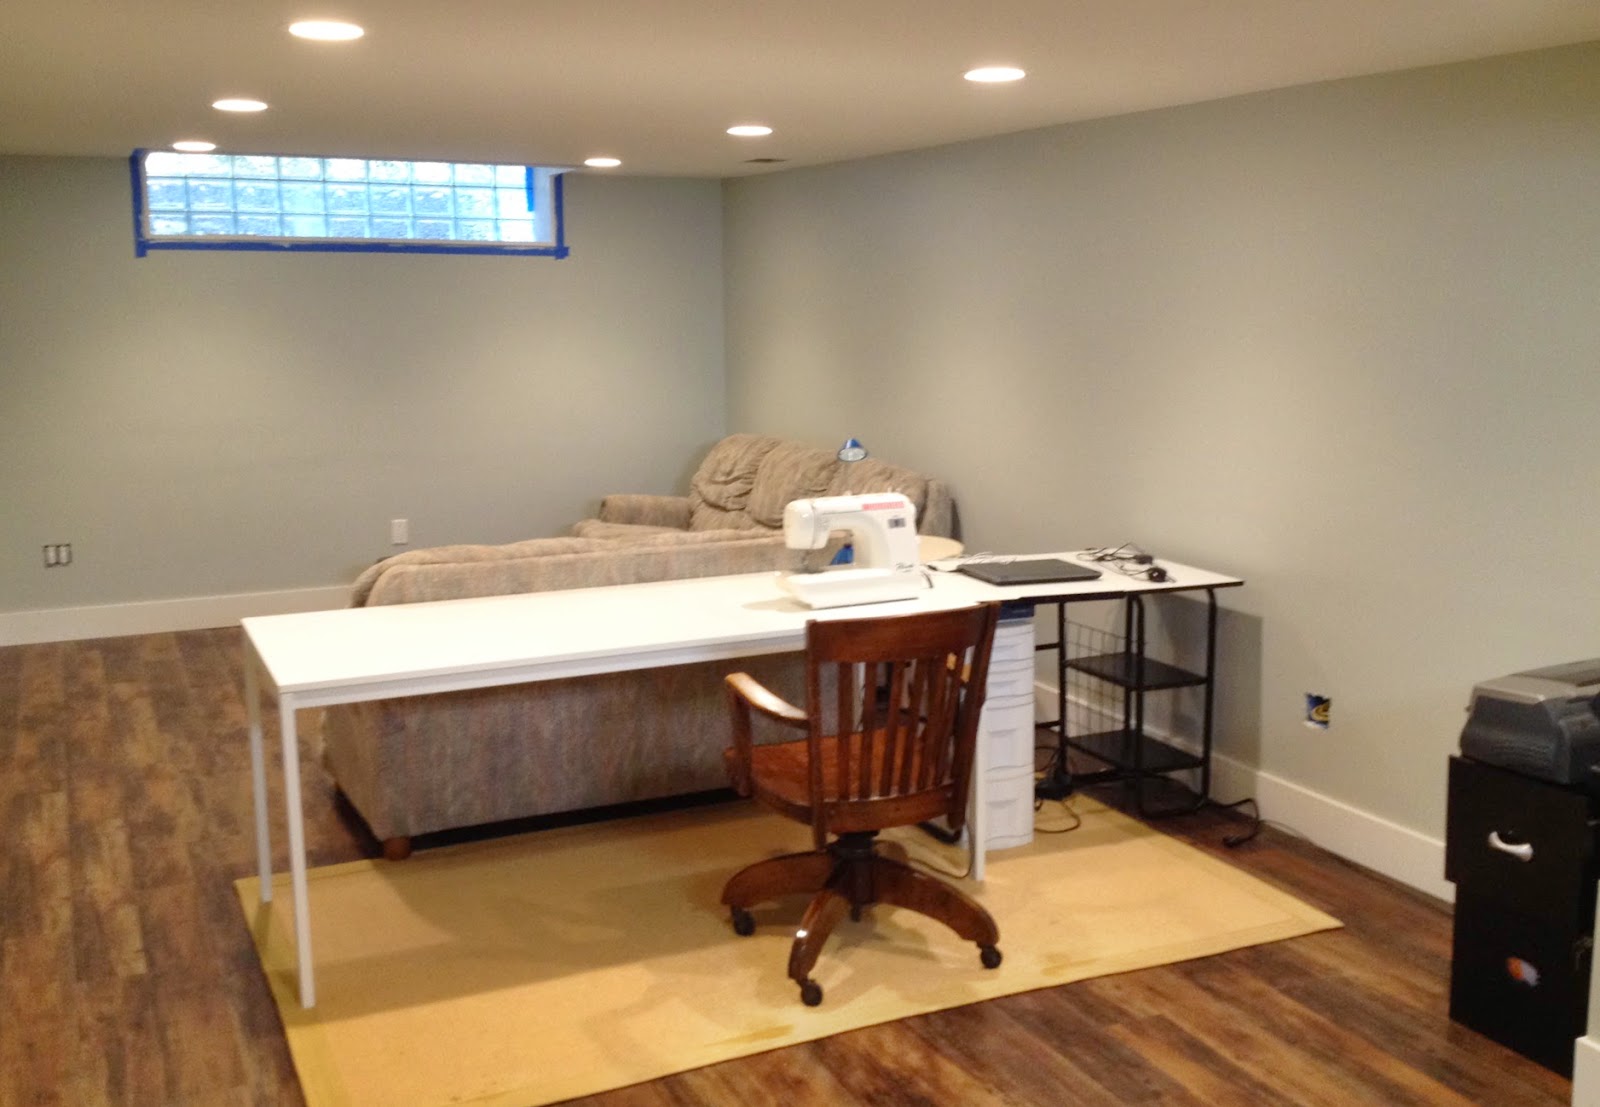
With the couches in place, I could start bringing in some of the other furniture. I placed the rug that was in the current sewing room (which still has some residual oxy-clean spots from a red wine incident which was too aggressively treated and not at all well enough rinsed. I'm working on it.) as well as the filing cabinet, sewing table (the long one) and computer desk.


Yeah, that's not going to work. The current setup is the same, but without the computer desk, and fits just fine on the rug. When I drew up the plans, I was lazy and didn't bother to actually measure anything and just guessed at the dimensions. And apparently I guessed wrong.


Nope. Weird dead corner, and completely non-functional file cabinet.


Hey, ok! Not terrible, this could work! (I don't actually love, or even like the file cabinet, but we do need somewhere to file household things, so it stays somewhere in the works. In fact it's moved again since this was taken, but the work surfaces are still there.)


Oh....just look at all of that space to lay things out, free of computer and associated cables!


And the soon to be (I hope) someday best part....planning for the cutting table!!!

(I'm testing out sharing my posts with a few link parties. I've linked up to Kathe with an E, Pam's Party and Practical Tips and Vintage Paint and More.)

Thursday, September 25, 2014

Hey...if you work on things, they get finished!

Remember, uh, last week, when I said I wanted to finish three things by the end of the year?

  
Well as it turns out, if you knit them, they grow!


(it is not wise to take finished object pictures at night. These colors are crazy different! True to life is probably the progress photo at the top of the post.)

It only took a couple of days of actually knitting on my Wonderful Wallaby to finish it! I picked it up just above the underarms on Saturday night, and grafted together the top of the hood and wove in the ends on Tuesday night! I used a discontinued yarn that I got in a Ravelry de-stash. It's a DK weight, whereas the pattern calls for worsted. I knit the 4T size knowing that would affect the finished size. It came out more like a 3T, but that's ok because the recipient is only 2.

Now, if you've knit the Wallaby before, you might notice that I made a mistake on the placket at the neckline.


I read the directions quickly, and where the directions told me to purl the center stitches every other row, I decided to just not read that and overachieve and purl every row. Once I started doing the garter stitch on the edge of the hood, I realized that I SHOULD have been doing garter stitch all the way down the neckline. Whoopsie. I didn't feel like ripping back all that way....so I decided that the rolling of the placket would just help keep the neckline open. Like, uh, a design feature? Plus, it's a toddler sweater, and we all know toddlers hate sweaters anyway. 

Anyway, now I have my entry into the Commuter Knitter Finish-a-long! #ckfal2014 - yay!


Tuesday, September 23, 2014

New scarves in the shop!

As I mentioned a few weeks ago, I've been working on a new product line for my shop....and they're finally up for sale!


I was starting to think these things were nothing but trouble...but then I got a rhythm going and got a couple done, and I've changed my mind! I've worn both the prototypes out and about, and have gotten a bunch of compliments, so I'm excited to see how they'll do on Etsy. (I should really get a dressmakers dummy for photography....I was hoping to wait for a really good hair day to take these shots, but it just wasn't happening. Had to settle for a so-so day!)

I struggled quite a bit with pricing these. I asked for a few suggestions and got about a $40 range! I know I've been pricing my handknits pretty low for the amount of work they entail, so I'm planning to start bumping those up bit by bit. I don't want to scare people off, but I really should charge what they are worth. Yes, handmade does cost more than picking something up at Target, but there's good reason for that. An actual person is sourcing materials, perfecting techniques, and personally, I'm happy to take requests so that people get the exact thing they are looking for. A friend asked on facebook just today if I'd consider making a scarf in a gray with gold snaps - the answer is sure! I can work on that!

In the end, I priced them pretty much right in the middle of the range of what people thought they were worth, and we'll go from there. I guess that's a good reason to get one now if you like what you see - stock is going to change, and pricing might as well! If you want more details, please take a look at my shop, cozycapecottage.etsy.com. I just have these 4 listed for now, so get em while they last!


Thursday, September 18, 2014

Garden Fresh Tomato Soup

Consider this a mini/end of season update. Things are winding down here in the Midwest. We seem to have barely started the hot, humid part of summer, and then we abruptly transitioned right into a crisp, cool fall. Strange weather, but it's been really good for my garden. I usually lose steam about, oh, June 15, so I consider the fact that I'm getting out there now and then to pick up a few ingredients for dinner to be a total win.

For example, I grew these carrots:


I grew these tomatoes:


 I grew this basil:


All of which simmered together (along with veg stock I made and froze last year!) to make this soup:


Want the details? This is my favorite tomato soup recipe, and I've been making it for several years. It's based on one I pulled out of our Sunday newspaper (and it looks like they adapted it from Ina Garten) probably....4 years ago? Pair it with grilled cheese and you basically have my favorite meal.

~~~~~~   ~~~~~~   ~~~~~~   ~~~~~~   ~~~~~~   ~~~~~~   ~~~~~~   ~~~~~~   ~~~~~~   ~~~~~~

Garden Fresh Tomato Soup

3 tablespoons olive oil
2 onions, chopped
3 carrots, scrubbed and chopped (or however many you are trying to use up!)
3 cloves garlic, chopped
4 lbs tomatoes, coarsely chopped (about 5 large big boy type or 20 small roma - I prefer roma)
1 1/2 tsp sugar
1 tablespoon tomato paste
1/4 cup chopped fresh basil
3 cups stock (veggie or chicken)
1 tablespoon kosher salt
2 tsp freshly ground black pepper (use just a pinch if not grinding fresh)
3/4 milk (buttermilk if you have it)

(I frequently double this recipe and freeze the leftovers!)

Heat oil in large pot over medium heat. Saute onions and carrots for about 10 minutes or until tender. Add garlic and cook for 1 minute. Add tomatoes, sugar, tomato paste, basil, stock, salt and pepper, stir well. Bring to boil, then simmer for 30-40 minutes, stirring occasionally.

Remove from heat and stir in milk.

Process through a food mill and discard pulp if you are fancy enough to have such a gadget. I am not, so I process batches in my blender and then run them through a sieve and discard pulp. (I push the liquid through with the back of my large ladle to make it go a little faster.) Return soup to low heat until hot enough to serve. Garnish as you wish - I prefer a nice grilled cheese sandwich with a hint of spicy mustard.

~~~~~~   ~~~~~~   ~~~~~~   ~~~~~~   ~~~~~~   ~~~~~~   ~~~~~~   ~~~~~~   ~~~~~~   ~~~~~~

And since I'm one of the only ones in my house who eats this, a double batch usually lasts me till spring! I'm hoping that if I pull the rest of the tomatoes that are still green on the vine I'll have enough to make one more batch this year, otherwise I'll turn them into sauce. It's funny, while tomato soup has ALWAYS been my go-to comfort meal, I really hate actual tomatoes!


Tuesday, September 16, 2014

Commuter Knitter - Finish-a-long

I was listening to one of my favorite podcasts the other day, Commuter Knitter, and she mentioned the idea of doing a knit along (called a KAL in the knitting world) for finishing all those projects that have been languishing on the needles for awhile. Now as a listener with three projects that seem to be taking forever and a day, coming up on fall when I'd like to actually be wearing them...that sounded like a great idea to me!

Here is Jen's introduction to the as yet to be named "-along," but which I've been calling a finish-a-long (a FAL?) in my own head, as follows in her ravelry group:

Do you need some extra motivation to finish some of those languishing WIPs off the needles? Did you start a KAL and then run out of steam when you didn’t finish by the end-date? Have you found a long-lost project that fell behind the couch? Or do you get distracted by the shiny to cast on ALL the things? Then feel free to join us for a year-end finish-along.
Guidelines:
WIPs should have been started prior to 9/1/2014 and finished between 9/9/2014 and 12/31/2014
One post per person in this thread - just add all of your FOs to the post
Please include a photo and a link to your project page with all the details of your project
Feel free to double/triple/whatever dip into other KALs as applicable
Prizes will be drawn just after 1/1/2015. More details to come.
 So basically, get motivated to finish the things I've been working on anyway, and have a chance to win a prize? Well ok!

Here's the status report on my never-ending works in progress. All 3 were started back in June, so I guess maybe they haven't been going on forEVER....but it still feels long. Note to self, don't cast on so many things at EXACTLY the same time!


I've been putting the most effort in recently on the Wonderful Wallaby sweater. I joined the sleeves last week, so all that's left is to knit the shoulders, collar and hood.


As for my troubled Bleecker Street Cardigan, which I would LOVE to have finished, I'm mad at it again. The sleeves and back are finished, so I just have the fronts to go. I absolutely would have started them....but I noticed ANOTHER MISTAKE on the sleeves. Argh! Why does this stitch pattern keep biting me?! I got one stitch off again, right at the decreases. I pretend I can't decide if it matters enough to rip them back....but it totally bothers me and I probably will. Bright side I guess is that it's on the decreases....so the rows are getting shorter. Still annoying, still can't believe I biffed it up again.


The last project is just a simple pair of socks. They aren't anything exciting, but I'd just like to have them finished! It's getting cold little by little, and I can't wait to wear them!


Now, the only snag in my finishing plan is that knit season is heating up, and so is my Etsy shop! I'm starting to get the first orders of my busy season rolling in, so I've got some business orders on the needles and those always come first. (These are the always popular cottage slipper socks - they are seriously the coziest thing!) I don't mind it at all of course - it's exciting and flattering every time someone chooses me out of all the hundreds of shops out there! It just means that I have to knit like the wind!