Showing posts with label sewing. Show all posts

Tuesday, September 23, 2014

New scarves in the shop!

As I mentioned a few weeks ago, I've been working on a new product line for my shop....and they're finally up for sale!


I was starting to think these things were nothing but trouble...but then I got a rhythm going and got a couple done, and I've changed my mind! I've worn both the prototypes out and about, and have gotten a bunch of compliments, so I'm excited to see how they'll do on Etsy. (I should really get a dressmakers dummy for photography....I was hoping to wait for a really good hair day to take these shots, but it just wasn't happening. Had to settle for a so-so day!)

I struggled quite a bit with pricing these. I asked for a few suggestions and got about a $40 range! I know I've been pricing my handknits pretty low for the amount of work they entail, so I'm planning to start bumping those up bit by bit. I don't want to scare people off, but I really should charge what they are worth. Yes, handmade does cost more than picking something up at Target, but there's good reason for that. An actual person is sourcing materials, perfecting techniques, and personally, I'm happy to take requests so that people get the exact thing they are looking for. A friend asked on facebook just today if I'd consider making a scarf in a gray with gold snaps - the answer is sure! I can work on that!

In the end, I priced them pretty much right in the middle of the range of what people thought they were worth, and we'll go from there. I guess that's a good reason to get one now if you like what you see - stock is going to change, and pricing might as well! If you want more details, please take a look at my shop, cozycapecottage.etsy.com. I just have these 4 listed for now, so get em while they last!


Tuesday, September 9, 2014

New product line...soon

If you follow me on Facebook or Instagram, then you already know I've been working on something new.


My sister had a double edged idea...she wanted to make these scarves that snap, sort of like the yoga ones from lululemon, and she wanted to learn to sew.

The sewing lessons went well.


The scarves themselves....well, it's been a lot of trial, and a LOT of error.


Let me just go ahead and say a couple of things about snaps. #1. It totally doesn't work to use lightweight snaps on either leather or faux leather. #2. It also totally doesn't work to try to punch the holes through on a hardwood floor. It worked MUCH better the following day when I did it outside on the concrete patio. It would probably work much better than that if I had use of a snap press, but I don't like to invest in a lot of equipment if I'm not sure if a product is going to sell or not. #3. Leather and my sewing machine hate me right now.

In the end, I really liked the results of the test scarves pictured above, but they were too long. I was so focused on getting the leather and snaps attached, that I made a rookie mistake and didn't test out the length! They definitely work, but need to wrap around 3 times which is just uncomfortable. I tried making a couple of scarves with a real leather trim, but it's thicker than the faux stuff (which actually looks surprisingly good!) and my sewing machine seems to hate. it. so. much. I spent a few hours on Sunday afternoon having my new, ingenious method of attaching the trim just not work SO hard...and then a lot more hours Sunday evening having my bobbin skip and thread break and just general horrible things happen to me, which I solved with wine and aimless internet surfing, throwing things and avoiding the sewing room since then. Healthy coping skills!

As soon as I can face it, I'm going to try my easier method of attaching the trim with the faux leather to see if it's in fact easier. I managed to improve the snap attachment method, so surely I can do the same with the sewing...right? And if not, well.....hey, one of a kinds pictured above!!!!

Tuesday, August 26, 2014

Quilter?

I'm in need of some new twin bedding in the next couple of months, and I haven't been able to decide what to do. I don't really know what colors I want to do, I don't have a clear vision, but I am running out of time. I have been going back and forth on how I feel about quilts for years. My tastes run decidedly modern, so I suppose it makes sense that much of quilting doesn't really appeal to me. I actually made a quilt in 2011 for our bed, which I seem to have exactly zero pictures of. It's really nothing that spectacular, just 4-8" long strips the length of the bed with straight line quilting.

My very talented cousins made this one for me based on a similar one I'd pinned on Pinterest a few years ago, and it's pretty reflective of my taste - simple and graphic:


Lately I've been feeling a BIT more traditional, but still not "flying geese" traditional. I read several blogs that just make quilting, or rather, living with quilts, seem like something I want.

Alicia from Posie Gets Cozy is probably the largest influencer of my newfound appreciation for a bit more softness and eclecticism. Our styles are almost totally opposite, but she's created such a lovely aesthetic that I'm about ready to ditch my whole house for hers.The entire blog, it's just such eye candy to me.


 I love the casual rumpled throw and cupboard of full of quilts of Amy Badskirt.


Ashley of Film in the Fridge is a really prolific quilter with fairly modern taste which appeals to me.


So when I got my Interweave "Free for All" what did you miss this month email this weekend, well, I was in an impressionable place. I saw these cute little hexagons and thought....that might be just about right.


I followed the links and got the 5" hexagon template from Patchwork Posse on Craftsy (it's free!). I went with the 5" over the seemingly more common 2" because, well, bigger hex's will go faster!


However, I then counterbalanced that bit of sensibility with the decision to piece the quilt top....by hand. Darn you Posie Gets Cozy!! She just makes everything seem so appealing!


Truly though, there are a couple of reasons I decided to do this by hand rather than by machine. As I've mentioned ad nauseum, my sewing room is still under construction. This means that my current sewing room is pretty much filled to the max, and I've lost the urge to keep it fully organized (other than my thread!) knowing that a new room is on the horizon. I also felt like I'd have a little more control over how the "Y" corners meet up. I've been putting an extra couple of stitches at those points to hopefully ensure that they don't open up over time, and it's something I'm not sure I'd do well with the speed of the machine as well as my inexperience at piecing quilts. Finally, since this is something that I think would take a good time investment no matter how I do it, I like the mobility around the house that I have doing it by hand rather than by machine. I can knock out a dress or something in an evening or two - this will definitely take longer. Even though I know it will take LONGER by hand, I like that I can bring it into other rooms or outside for now. And if it gets too fiddly, there's nothing to say I can't do a mix of hand and machine piecing!


My tentative plan is to do white centers and colored "petals." I don't have a specific color scheme throughout, but I have a pile of fabrics I like. I think I'll just make the flowers and then put them together at some point to see how it's shaping up. If it's too much, I can always throw in some solids or neutrals to tone it down.


So. Yeah. It's an experiment.

Thursday, August 21, 2014

Simple sewing room organization

I think I got my sewing machine almost 15 years ago. It came with a little sampler pack of thread that was probably intended for little hand sewing jobs, and from there I've purchased and lost a ton of separate spools of thread. The spools I managed to hold on to, along with their corresponding bobbins, were neatly stored in an equally organized dresser drawer in this box.


It was obviously super effective, and spoiler alert, I'm all done doing it that way. If you are jealous and want to implement this method, I will totally send you this bottom half of a box of checks, just as soon as I find homes for these things which definitely needed to be stored with thread.


So now my thread storage (purchased at Joann's during their storage sale) looks like this:


When I get into the new space, I'll hang it on the wall, preferably near the sewing machine. The location actually isn't critical as it's not like my work space will be enormous. I don't find I do a ton of color changing mid project. In fact, it might end up making more sense near my fabric. Anyway, it's awesome that my sampler threads are no longer tangled with my bobbins, and I won't fill bobbins with the same color thread I already have (I'm looking at you, whites and tans), and I'll actually be able to see what I'm out of and what I need more of. This was honestly such a relief!

Hi there starter threads. We've come a long way.


Thursday, August 14, 2014

Burlap tote bags


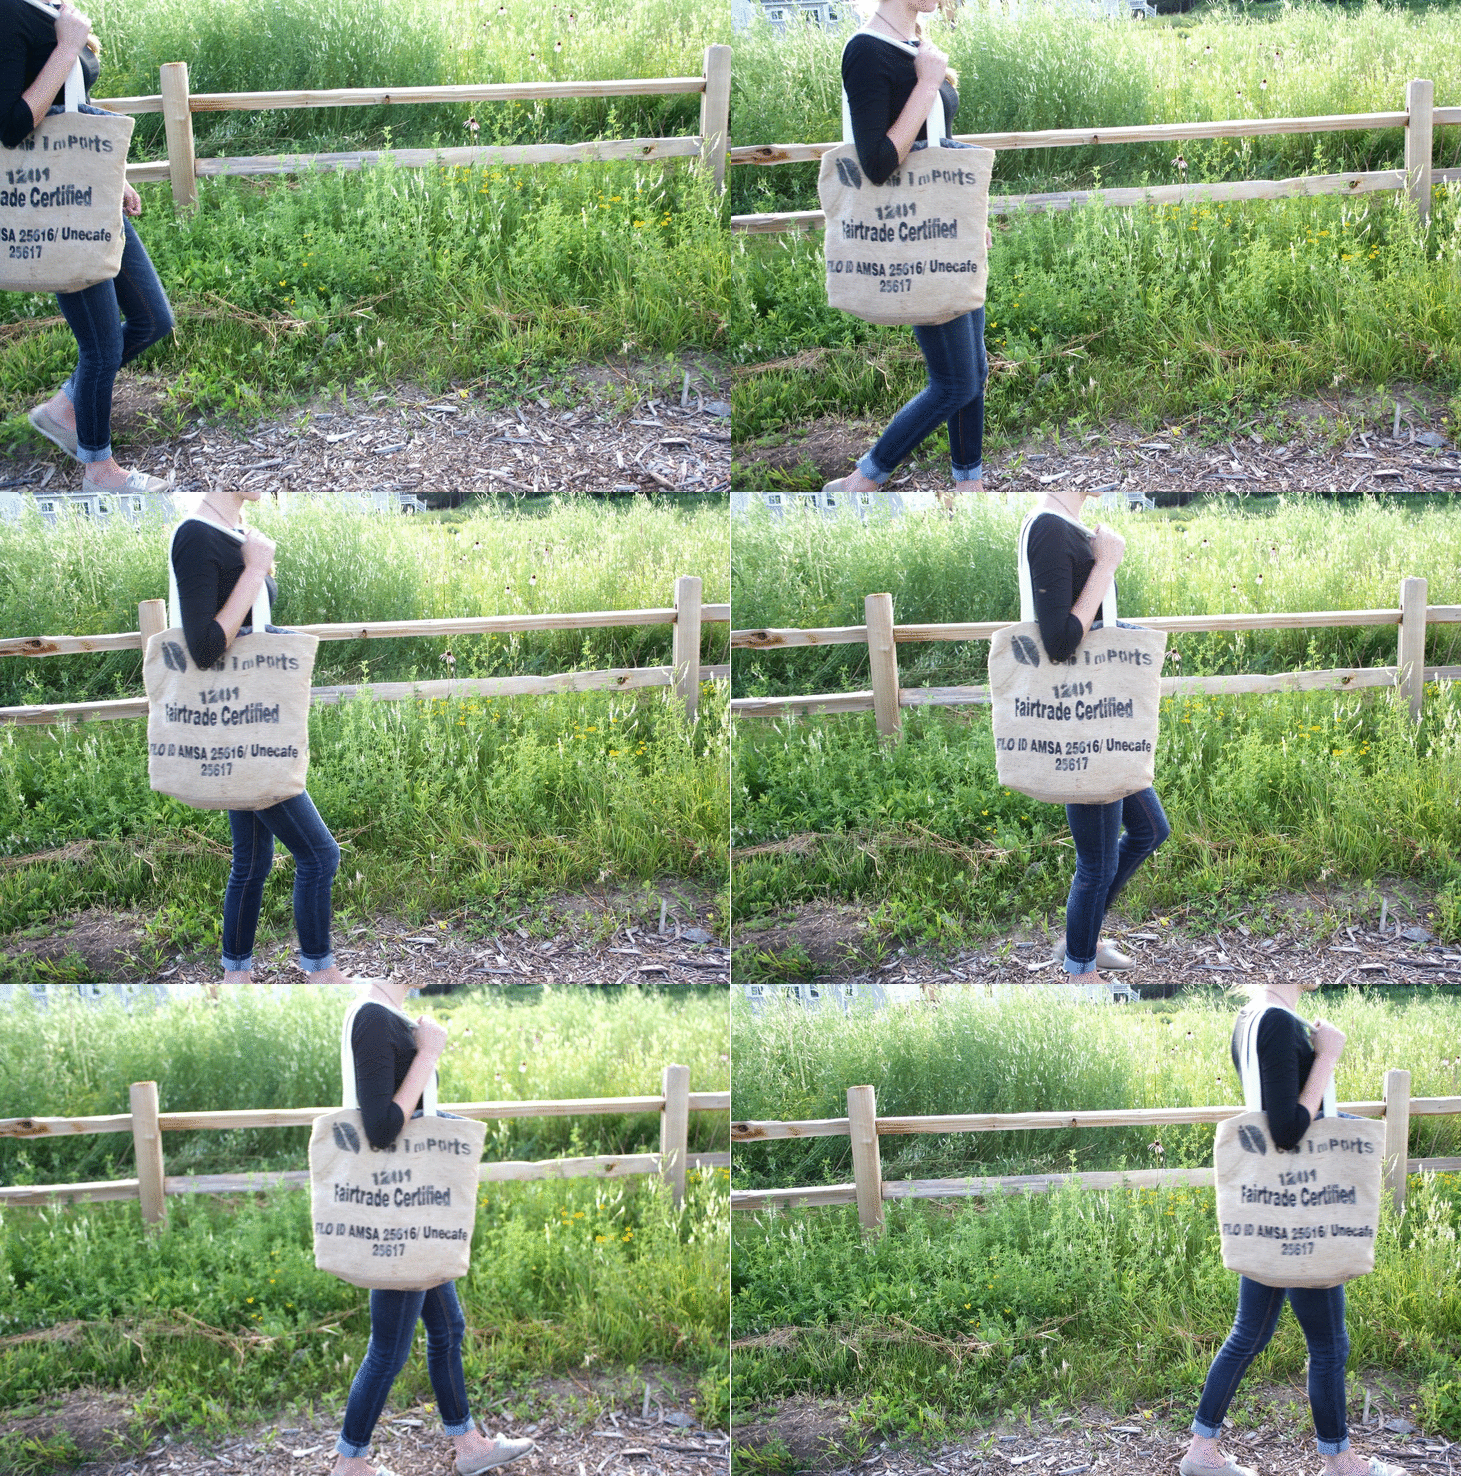
I started making these tote bags at the end of last year, and I thought they were awesome. I really love those vintage printed flour and burlap sacks, and was thrilled to find a local source of burlap sacks that I could upcycle into whatever my heart desired. I started out with these super durable tote bags. I made about 8....and they just didn't sell. And, well, it wasn't really hard to figure out why. These photos man....they're SO. BAD!!


Good lord, that is embarrassing. I'm so happy that someone saw through the desperate-for-space-backdrop and the hasn't-figured-out-white-balance photography and, while I hate the word "styling"....seriously. This needs styling.

My POINT was to show that the front is funky and different and decorative. The back is a soft but sturdy flannel, reinforced with interfacing, and the interior is a contrasting fun fabric. There are interior pockets that can hold cell phones, laptop chargers and mice, pens, notions, etc. The bag is closed with a magnetic snap so that your stuff is secure, but still easy to access. The canvas straps are tough and rugged, and a great length for slinging over your shoulder. Do these photos express any of that? No. So much no. It's no surprise that these moved MUCH better at craft shows and in real life. My mom and sister both requested them, and carry them every day. While the studio and photography space chug along (I'm making baby steps! I ordered a tripod and lighting today!), I took to the outdoors to get some better "lifestyle" type shots of my sister and her bag.


Hi there. YES. Now THIS is the image I wanted to project! I've got two bags left from the original batch, and plans for new burlap projects like bags of this same style, along with another type of true "laptop" bag, baskets for the home, and cross-body totes (like this sneak peek at one I did a while back!):


Interested in having one of your own? Check out the listings in my shop here and here! (I still haven't improved my listing photos to the degree I'd like, but this is better than before I think. Plus I added the "lifestyle" shots for scale and a sense of the bag in use. I hope that's not too confusing for shoppers!)


Tuesday, July 29, 2014

Golden Rippy's Delilah Top

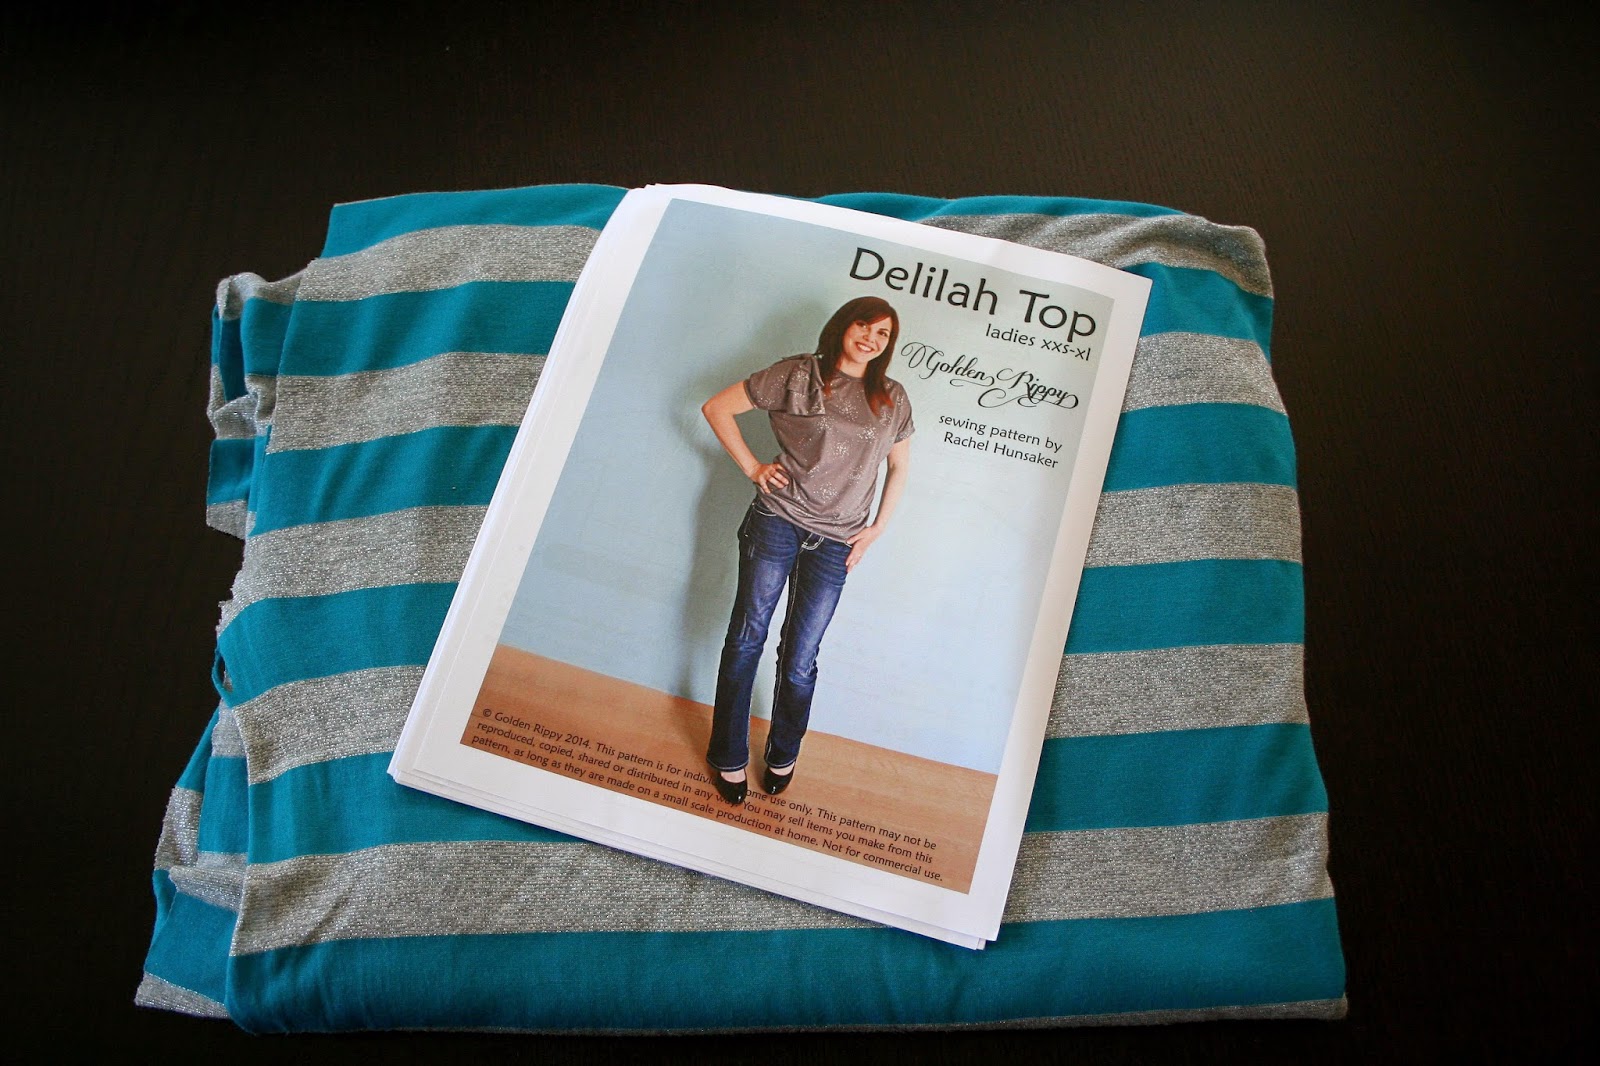
A few weeks ago, the lovely Rachel of  Golden Rippy  put out a call for bloggers to participate in her very first pattern tour (including a giveaway at the bottom of the post!!) in one of our Facebook groups, and I jumped at the chance. I haven't had the opportunity to sew much for myself in recent years, so I thought this would be the perfect excuse. In addition, I've never sewn with knits before, and, well, no time like the present! In hindsight, I also don't have much experience matching up stripes, so choosing a striped knit (from Joann's) MAY not have been the wisest move. It turned out well enough in the end, but I could still use practice.


This is a great casual top, but I've actually worn it to work as well, dressed up with some black pants. I opted not to add on the bow or flowers for my version, but I plan to make the little girl version as well (the Dalia) and will likely add a little something to that one.


I must have been subliminally influenced to choose something with a little sparkle by the cute cover photo!


Rachel's directions were really clear, and it was easy to lay out the pattern sheets with the translucent numbering and arrows on the sheets. I often have trouble finding tops that are long enough, which is why women's top patterns are appealing to me. I decided to make this one per the pattern, and quite like the length! It's great with jeans, but I could also see making one several inches longer to wear with leggings.


I did my best to keep the fabric from sliding around as I cut the pieces in an effort to match up the stripes, which was moderately successful. Not perfect, but pretty good!

As far as sewing on the stretchy fabric, I played around with many of the stitches and tension, length and stitch width on my machine, which is a basic Brother PS-1000. I've heard things about knits being difficult to sew without a serger, so I was a little worried and tested out some of the stretchier stitches. For the most part though, I ended up just using straight stitching and didn't have much trouble with it. I just made sure to adjust my length and tension enough on a scrap piece of fabric so that I didn't get any bunching or loose threads on the back side.


Overall, the sewing went really smoothly, and adding the trim along the neckline and sleeves was really simple with Rachel's instructions. The only bump I ran into was with the waistband. I got the whole top together, tried it on, and it just wasn't quite snug enough.


I had hoped for it to be tight enough to be able to stay up on my hips. (On the plus side, check out those matching side stripes! Not quite as nice on the shoulder, but oh well.) I must have lost my mind when I took it off, because I made it about 6" shorter! It DEFINITELY didn't need to be taken in that much! I did quite a number pulling on the shirt fabric to get it reattached, that when I ultimately realized I'd made a mistake in taking it in too much, I was worried that I'd stretched it out beyond repair. I cut a new strip for the waistband just an inch and a half shorter than the pattern calls for, and that was just right. Luckily the fabric bounced back after a trip through the wash!


I love this top. It's so comfortable! The drape of the fabric and the little gather at the waist give it enough shape and movement without being tight, which is awesome.

So here are the details if you'd like to make a Delilah Top of your own. The pattern includes:
  • illustrated instructions
  • six sizes  XXS to XL
  • 2 sleeve lengths
  • 2 embellishment options
  • printing guide
  • pattern layout guide
  • grainlines
  • 28 page PDF pattern download to make the top
  • fabric yardages for 45″ and 60″ widths
  • pattern pieces with seam allowances
  • professionally designed and graded pattern
Want to win the pattern? 


Prize Package & Rules

Two winners will each win:

            * 2 Patterns of your choice from Golden Rippy


The Contest Rules:

You must be 18 to enter.

You can gain entries by entering the Rafflecopter Prompts.

Giveaway ends: 8/6/14 at midnight PST.
Two winners will be chosen and announced on 8/7/14.


a Rafflecopter giveaway

Also be sure to check out the pattern on these other blogs in the next several days!


Monday- July 28

A Vision To Remember  www.avisiontoremember.com

Fabulous Home Sewn    http://www.fabuloushomesewn.blogspot.ca


Tuesday- July 29

FriendsStitchedTogether     http://friendsstitchedtogether.com/

Cozy Cape Cottage    http://cozycapecottage.blogspot.com/

Gracious Threads    www.graciousthreads.ca

Wednesday- July 30


The Sewing Geek    http://www.thesewinggeek.com/

Sprouting JubeJube    http://sproutingjj.blogspot.ca/

Thursday- July 31

My Taylor Made      www.mytaylormade.blogspot.com

Mimi's Mom      http://www.mimismom.com

Rebel & Malice  rebelandmalice.blogspot.com

Friday- Aug 1

Stitchwerx Designs   http://stitchwerx.net


E-beth Designs   http://ebethdesigns.com/

Saturday- Aug 2


Marmalade Forest   www.marmaladeforest.com

Ali Cat & Co    alicatco.blogspot.com

Sunday- Aug 3


Monday- Aug 4


Tuesday- Aug 5

Mae & K    http://maeandk.com/

The Crazy Tailor   http://thecrazytailor.com

Blogs Like A Mother   http://blogslikeamother.blogspot.com

Wednesday- Aug 6

Bebe Lambs    www.bebelambs.com


Lady and the Gents    www.theladyandthegents.blogspot.com
 

Thanks so much to Rachel for providing me this cute pattern! All opinions, mistakes and rambling are my own.